The spirit of American exploration isn’t just about reaching a destination. It’s about the capability to get there. For many, that spirit comes alive on the rugged trails of Moab, Utah, or the legendary Rubicon in California. An off-road vehicle modification like a lift kit is what turns a standard truck or SUV into a machine truly capable of tackling that terrain. It’s not just about looks. It’s about function.
Why Lift Your Vehicle for Off-Roading
Before turning a single wrench, it’s important to understand what a lift kit actually accomplishes. The most immediate benefit is increased ground clearance. That extra height allows your vehicle’s frame and underbody components to pass over large rocks, deep ruts, and fallen logs without getting hung up or damaged. Think of it as giving your vehicle longer legs to step over obstacles.
This added clearance also creates room for larger tires. Bigger tires provide a larger contact patch with the ground, which dramatically improves traction on challenging surfaces like loose dirt, deep mud, or soft sand. They also contribute a bit more height themselves, further increasing the distance between your axles and the ground.
Finally, a quality suspension lift improves what’s known as suspension articulation. This allows the wheels to move up and down independently over a greater range, keeping them in contact with uneven ground. The result is enhanced stability and control when the trail gets technical. While installing a lift kit is a significant mechanical project, completing it yourself offers a deep sense of accomplishment and a vehicle that’s truly your own.
Selecting the Right Lift Kit for Your Needs

Choosing the right lift kit is the most critical decision you’ll make, and it directly impacts your vehicle’s performance, safety, and your project’s budget. The first step in choosing a suspension lift kit is understanding the two primary categories: suspension lifts and body lifts. A suspension lift is a performance-focused upgrade that replaces components like springs, shocks, and control arms to physically increase the space between the axle and the frame. This is what improves ground clearance and articulation.
In contrast, a body lift uses spacers to raise the vehicle’s body off its frame. As an external guide from WAAG4x4 highlights, this method is more cosmetic, offering a lifted look and room for slightly larger tires without changing suspension performance. It’s a budget-friendly option but provides none of the off-road functional benefits of a true suspension lift.
Next, consider the lift height. For a first-time DIY truck lift kit, a modest 1 to 2.5-inch lift is a manageable starting point. This height typically has a minimal impact on factory steering and drivetrain geometry. Lifts of 3 inches or more become far more complex, often requiring new driveshafts, extended brake lines, and significant steering corrections. Your choice should match your vehicle’s primary use. A daily driver that sees occasional trail use has different needs than a dedicated off-road rig, whether it’s a versatile Jeep or one of the many popular trucks on the market. We strongly recommend investing in a complete, reputable kit from a single manufacturer to ensure all parts work together seamlessly.
| Factor | Suspension Lift | Body Lift |
|---|---|---|
| Performance Gain | Significant improvement in ground clearance and articulation | No change in ground clearance or suspension performance |
| Tire Size | Allows for significantly larger tires | Allows for slightly larger tires |
| Installation Complexity | Moderate to high; involves replacing suspension components | Lower; involves installing spacers between frame and body |
| Cost | Higher; involves purchasing new suspension parts | Lower; consists of spacers and hardware |
| Ideal Use | Serious off-roading, rock crawling, overlanding | Cosmetic appearance, fitting slightly larger tires on a budget |
This table outlines the fundamental trade-offs between the two main lift types. The choice depends on your budget, mechanical skill, and how you plan to use your vehicle off-road.
Gathering Your Tools and Preparing for Safety
A successful installation begins long before you lift the vehicle. Proper preparation and an organized workspace are just as important as mechanical skill. Having the right lift kit installation tools on hand prevents frustrating delays and ensures you can complete the job correctly.
Before you start, assemble your toolkit. You will absolutely need:
- A full socket and wrench set, including both metric and SAE sizes.
- A high-quality torque wrench for tightening bolts to manufacturer specifications.
- Heavy-duty jack stands rated well above your vehicle’s weight.
- A reliable floor jack.
- Wheel chocks to prevent the vehicle from rolling.
Depending on your vehicle’s suspension design, you may also need to rent or purchase specialized tools like spring compressors or a ball joint press. Safety must be your top priority. Always work on a hard, level surface like a concrete garage floor. After engaging the parking brake and chocking the wheels that will remain on the ground, use your jack stands to support the vehicle’s frame. Never work under a vehicle supported only by a hydraulic jack.
Don’t forget personal protective equipment (PPE). At a minimum, you should have:
- Safety glasses to protect your eyes from debris and fluids.
- Mechanic’s gloves to protect your hands.
- Sturdy, closed-toe shoes.
A simple but effective tip is to use magnetic trays or labeled plastic bags to keep track of all the nuts, bolts, and small parts you remove. This small step makes reassembly much smoother.
Step-by-Step Front Suspension Installation
With your workspace prepared and tools ready, it’s time to begin the hands-on work. This section will walk you through how to install a lift kit on the front suspension, which is often the more complex end. For safety and leverage, start by loosening the front wheel lug nuts while the vehicle is still on the ground. Then, use your floor jack to lift the front of the vehicle and place your jack stands securely under the frame rails on both sides before removing the wheels.
Next, begin disassembling the stock suspension. This typically involves removing the sway bar end links, the lower shock bolts, and the bolts holding the upper strut or spring assembly in place. A great habit to form is taking photos with your phone at each stage. These pictures serve as an invaluable visual reference during reassembly, especially if you get interrupted.
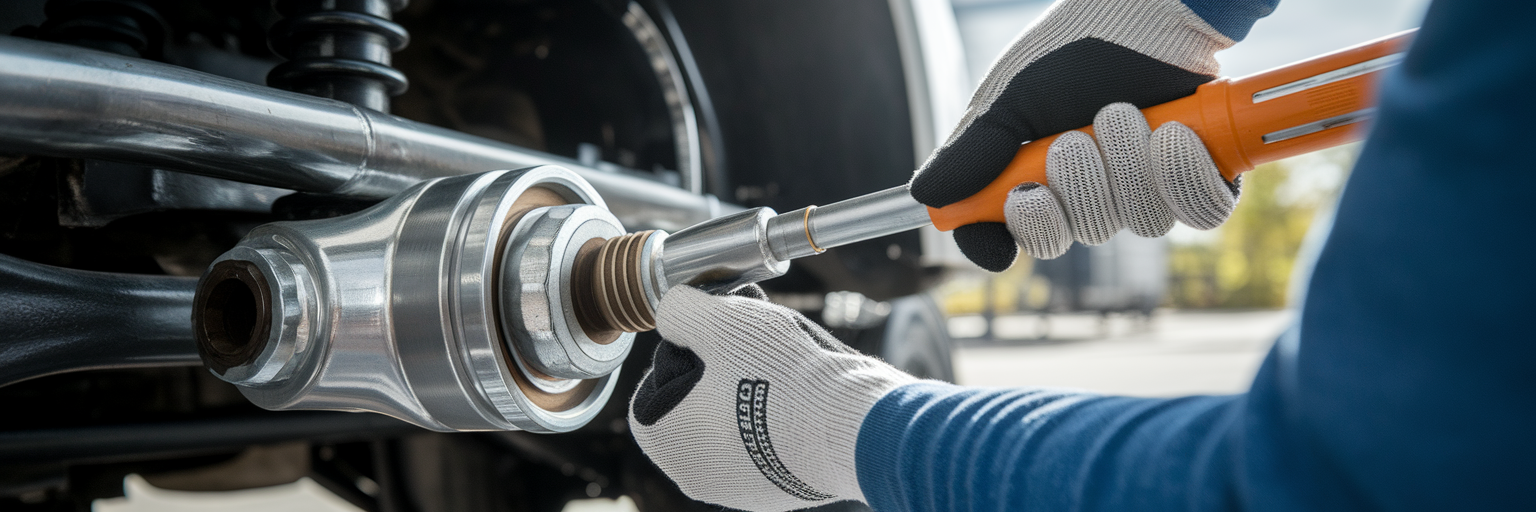
Now, you can install the new lift components. Following the manufacturer’s instructions is paramount, as steps can vary between kits and vehicles like the popular Ford F-150. Carefully position the new, taller springs or complete strut assemblies. For added security against vibrations, apply a thread-locking compound to critical bolts like those for the shocks and control arms. It’s often easier to connect components if you work on both sides at a similar pace, which helps manage suspension tension. Leave the bolts snug for now, but do not fully torque them until the vehicle’s weight is back on the suspension.
Completing the Rear Suspension Installation
The rear suspension installation often proceeds more quickly than the front, but it’s important to recognize the differences in design. Start by lifting the rear of the vehicle, supporting the frame on jack stands, and removing the wheels. Allow the rear axle to hang or “droop,” which creates the space needed to work on the components.
The process here depends heavily on your vehicle’s setup. For trucks with leaf springs, the process involves removing the factory U-bolts that hold the axle to the spring pack. You will then either install a lift block between the axle and the leaf spring or replace the entire leaf pack with a new, arched one. For SUVs with coil spring suspensions, the process is more like the front, involving the removal of the old shocks and coils and replacing them with the new, longer parts from your kit.
As you install the new components, such as longer shocks or brake line relocation brackets, continue to follow the kit’s specific instructions. Once everything is in place, perform a crucial safety check before putting the wheels back on. Use your floor jack to slowly raise and lower the axle, cycling it through its range of motion. Watch carefully to ensure that brake lines and ABS sensor wires have enough slack at full droop and that no components are binding or making contact with each other.
Final Checks and Professional Alignment
Your lift kit installation isn’t finished when the last bolt is tightened. The final steps are mandatory for ensuring your vehicle is safe, reliable, and handles correctly. Do not skip them.
- Torque All Fasteners to Spec. With the vehicle back on the ground and its full weight compressing the suspension, use your torque wrench to tighten every nut and bolt to the manufacturer’s specified torque values. This is a critical step for safety.
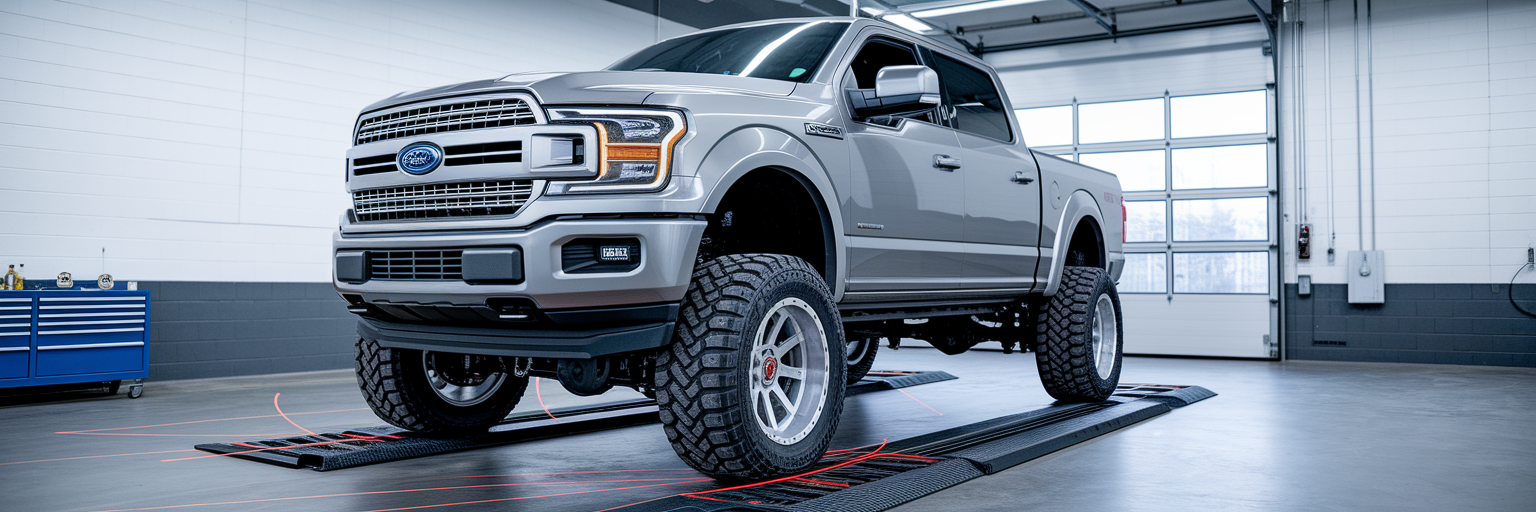
- Get a Professional Alignment. This is not optional. A post-lift kit alignment is absolutely necessary. Changing the suspension height alters critical geometry angles like camber, caster, and toe. As experts at Custom Truck Concepts point out, failing to correct these angles will result in poor handling, unpredictable steering, and rapid, uneven tire wear.
- Perform a Careful Test Drive. Take your vehicle to a safe, low-traffic area. Drive at various speeds and listen for any unusual sounds. If you hear clunks or squeaks, it could indicate a loose component, and it’s helpful to know how to start diagnosing common vehicle sounds. Pay attention to how the steering feels.
- Re-Torque After a Break-In Period. After driving for 100 to 200 miles, suspension components will settle. It is a professional best practice to go back and re-torque all the suspension fasteners to ensure everything remains secure for the long haul.