
The Definitive Answer to Should You Check Oil Hot or Cold
The debate over whether to check oil hot or cold has been a garage discussion for decades, but automotive engineers provide a clear and consistent answer. For the vast majority of vehicles on the road today, the most accurate engine oil level check is performed when the engine is warm. This doesn’t mean checking it seconds after shutting the car off, nor does it mean checking it first thing in the morning. The ideal condition is after the engine has reached its normal operating temperature and has then been turned off for about five to ten minutes.
This specific procedure is the industry standard for two fundamental reasons. First, engine oil expands when it gets hot. Dipsticks are calibrated by manufacturers to give an accurate reading at this normal operating temperature. Second, when your engine is running, a significant amount of oil is circulating throughout its upper components. A brief waiting period allows this oil to drain back down into the oil pan, ensuring you are measuring the total volume of oil in the reservoir, not just what’s left after circulation.
Understanding the correct method to check oil hot or cold is more than just trivia. It is one of the most essential car maintenance tips you can learn. An accurate reading helps you maintain the proper oil level, which is critical for lubricating moving parts, cooling the engine, and preventing the kind of catastrophic wear that leads to expensive repairs. This guide will walk you through not just the steps, but the science behind them, empowering you to care for your engine with confidence.
The Gold Standard: A Step-by-Step Guide to Checking Warm Oil
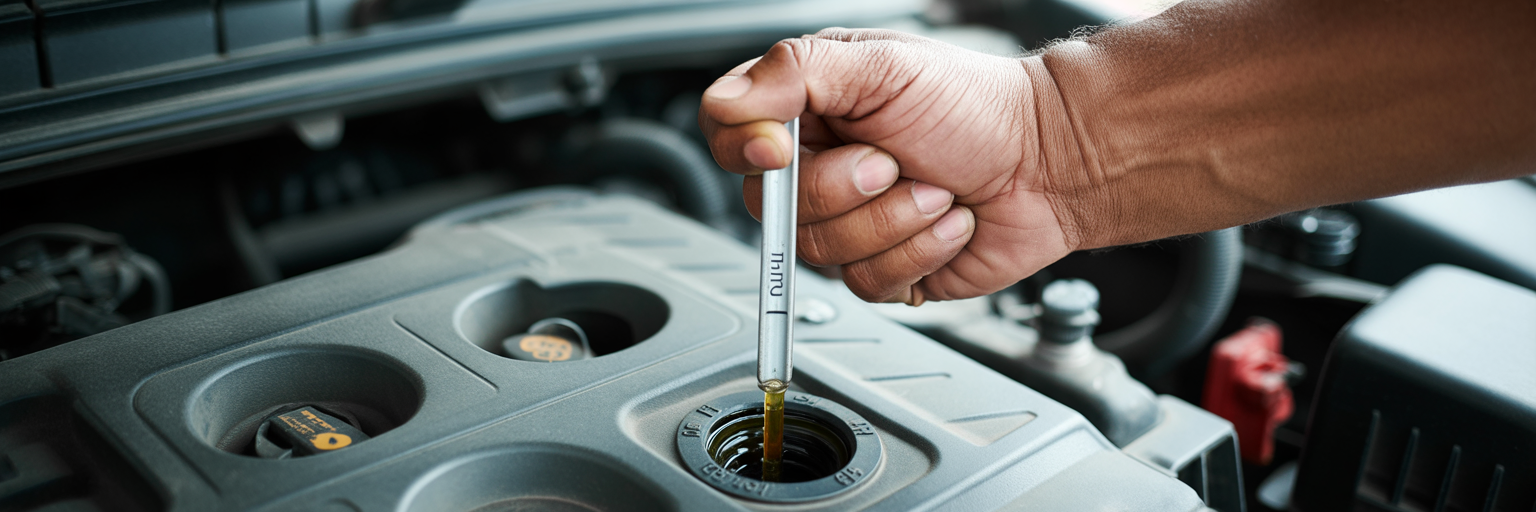
Getting a precise reading of your engine oil is a straightforward process when you follow the correct steps. This simple routine, performed once a month, can save you from significant engine trouble down the line. Here is how to check engine oil the way professionals do.
- Bring the Engine to Operating Temperature
Start by driving your car for about 15 to 20 minutes. This is enough time for the engine and the oil to reach their normal operating temperature. Simply letting the car idle in the driveway is not sufficient, as it doesn’t put the engine under a realistic load and won’t warm the components as thoroughly as actual driving does. - Park on a Perfectly Level Surface
This step is absolutely critical for an accurate reading. Find a flat spot in your driveway, garage, or a parking lot. Even a slight incline can cause the oil in the pan to shift to one side. This tilt can make the dipstick show a false low or high reading, leading you to either overfill the engine or mistakenly believe it’s low on oil. - Turn Off the Engine and Wait 5-10 Minutes
Once parked, turn off the ignition and set a timer. This waiting period is essential. While the engine is running, the oil pump circulates quarts of oil to lubricate the camshafts, pistons, and other components in the upper engine. Shutting the engine off and waiting allows this oil to drain back down into the oil pan, or sump. This ensures you are measuring the engine’s true oil reserve. - Locate, Remove, and Wipe the Dipstick
Open the hood and find the engine oil dipstick. It typically has a brightly colored handle, often yellow or orange, making it easy to spot. Pull the dipstick out completely. Use a clean, lint-free cloth or paper towel to wipe it from top to bottom. This step removes any oil that may have splashed onto the stick, which would otherwise obscure the true level. - Re-insert and Get the Final Reading
Firmly push the clean dipstick all the way back into its tube until it is fully seated. Immediately pull it out again and hold it horizontally to prevent the oil from running and smearing the reading. The dipstick will have markings at the end, usually two dots, lines, or a crosshatched area labeled ‘MIN’ and ‘MAX’ or ‘ADD’ and ‘FULL’. The ideal oil level is a clear line near the ‘FULL’ mark, but not over it.
The Science Behind Why a Warm Check is More Accurate
The recommendation to check oil on a warm engine isn’t arbitrary. It’s based on fundamental physics and specific engineering choices made by vehicle manufacturers. The two key principles at play are thermal expansion and oil circulation dynamics, and understanding them clarifies why the warm check is the only truly reliable method.
First is the concept of thermal expansion. Like most fluids, motor oil expands as its temperature increases. A typical engine with a 5-quart oil capacity can see its oil volume increase by a noticeable fraction of a quart when heated from a cold morning temperature to its normal operating temperature of around 200°F (93°C). Automakers know this. They calibrate the ‘FULL’ and ‘ADD’ marks on the dipstick to be accurate for oil at this expanded, warm state. A reading taken on cold, contracted oil will not reflect the true volume the engine was designed to operate with.
The second principle involves the journey of oil within a running engine. The oil pump is a powerful component that sends quarts of oil from the pan up into the cylinder head to lubricate the camshafts, lifters, and timing components. When you shut the engine off, that oil is still coating surfaces and filling passages in the upper engine. Checking the dipstick immediately gives a false low reading because a significant amount of oil hasn’t yet returned to the pan. The prescribed 5 to 10 minute wait is a carefully calculated window. It’s long enough for the majority of the oil to drain back into the sump for an accurate engine oil level check, but short enough that the oil remains warm and expanded. This level of engineering detail isn’t just for maintenance; it’s also key to making smart purchases. For those interested in long-term ownership, understanding why some high mileage cars age better than others offers valuable insight into vehicle durability.
Understanding the Pitfalls of a Cold Oil Check
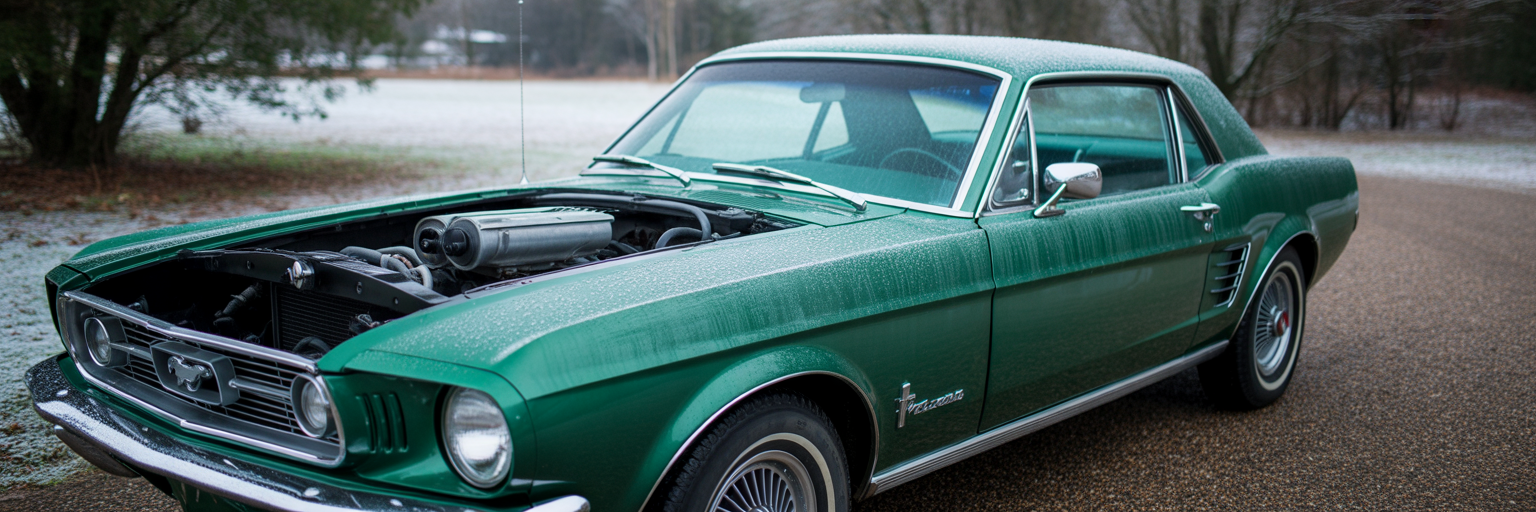
While it might seem convenient to check your oil first thing in the morning, relying on a cold check for accuracy is a common mistake that can lead to problems. The primary issue is oil contraction. When an engine is cold, the oil is denser and occupies less volume than when it’s at operating temperature. This means a cold check will often show a level that is lower than its true operating level. An owner seeing this might be tempted to add oil, which can easily lead to overfilling once the engine warms up and the oil expands.
Another problem with a cold check is viscosity. Cold oil is thick and flows poorly. When you pull the dipstick from a cold engine, the thick oil doesn’t drain cleanly from the stick or its tube. This can result in a smeared, unclear reading, making it difficult to determine the precise level. You might see oil streaks well above the actual level, leading to confusion.
There is one limited scenario where a cold check has some utility: as a quick, preliminary confirmation that there is at least some oil in the engine. If you suspect a major leak or are about to start a car that has been sitting for a very long time, a cold check can confirm the presence of oil before you turn the key. However, it should never be used for topping up. If a cold reading appears to be at the ‘FULL’ mark, the engine might actually be slightly low on oil for optimal performance under normal operating conditions. The key takeaway is to use a cold check only as a quick safety glance and always default to the standardized warm check procedure for any adjustments.
Decoding a Low Oil Level: Causes and Symptoms
Discovering that your oil level is at or below the ‘MIN’ or ‘ADD’ mark on the dipstick can be concerning, but understanding the potential reasons is the first step toward a solution. A low oil level is a signal that your engine is either consuming oil internally or losing it externally. Ignoring this warning can lead to severe engine damage.
Common Causes of Low Engine Oil
When your engine is losing oil, it’s typically due to one of a few common culprits. Identifying the signs can help you diagnose the issue.
- Oil Consumption (‘Burning’): This happens when oil seeps past worn internal components and is burned in the combustion chamber along with fuel. The most common causes are worn piston rings or failing valve stem seals. The telltale symptom is blue-tinted smoke coming from the exhaust, which is often most noticeable on startup or during hard acceleration.
- External Oil Leaks: These are often the easiest to spot. Failing gaskets and seals allow oil to drip out of the engine. Common leak points include the valve cover gasket (on top of the engine), the oil pan gasket (at the bottom), and the front or rear crankshaft seals. Look for dark, oily spots on your driveway or a greasy, grimy residue on the engine block itself.
- PCV System Failure: The Positive Crankcase Ventilation (PCV) system is designed to relieve normal pressure that builds up inside the engine. If the PCV valve becomes clogged, that pressure can force oil past perfectly good seals and gaskets, causing leaks. This is one of the more overlooked low engine oil causes.
Differentiating Normal Consumption from a Problem
It’s important to note that many modern engines are designed to consume a small amount of oil between changes. The owner’s manual will often specify an acceptable rate, which might be as much as one quart every few thousand miles. The real concern is a sudden change. If your car never used oil before and now it does, or if the rate of consumption suddenly increases, it signals a developing problem. For those who rely on their vehicles for work, addressing these issues promptly is critical. Drivers looking for dependable vehicles might find our guide on the best cars for Uber and rideshare drivers in 2026 helpful in making a smart investment.
| Symptom | Potential Cause | What to Look For |
|---|---|---|
| Blue smoke from exhaust | Oil Burning (Internal Consumption) | Smoke is most noticeable on startup or during hard acceleration. |
| Dark, oily spots under the car | External Oil Leak | Check your usual parking spot. Look for wet, grimy areas on the engine block or oil pan. |
| No visible smoke or drips, but oil level drops | PCV System Fault or Normal Consumption | If consumption is high (e.g., a quart every 1000 miles), suspect the PCV system. If minor, it may be normal. |
| Engine runs rough or makes ticking noises | Severe Oil Starvation | The oil level is critically low, failing to lubricate vital components. Do not drive. |
Your Action Plan When the Dipstick Reads Low
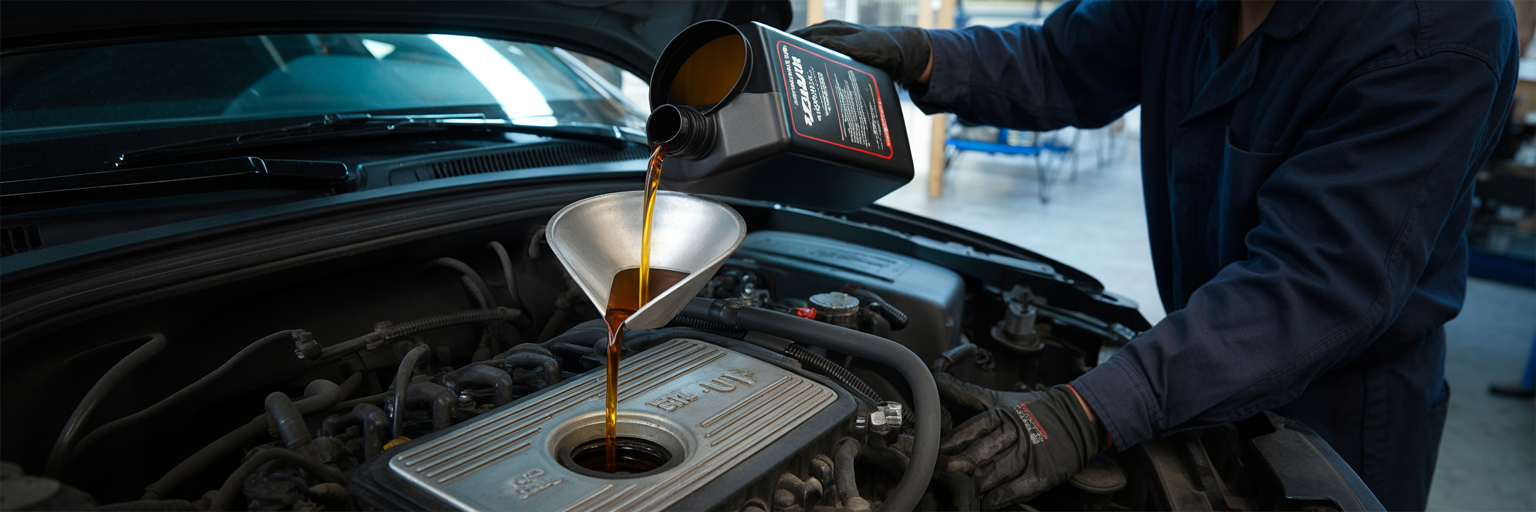
Seeing a low oil reading requires a calm and methodical response. Driving with an oil level below the minimum mark is risky, as it can lead to inadequate lubrication, overheating, and rapid engine wear. Your first priority is to safely bring the level back into the optimal range.
The immediate action is to top up the oil. First, consult your owner’s manual to confirm the correct oil type and viscosity for your vehicle, such as 5W-30 or 0W-20. Using the wrong oil can cause its own set of problems. When you’re ready to add oil, use a funnel to prevent spills onto the engine, which can cause smoke and a burning smell. Add the oil in small increments, starting with about half a quart. After adding, wait a minute for it to settle, then re-check the dipstick. Repeat this process until the level is near the ‘FULL’ mark, being careful not to overfill.
It’s crucial to differentiate between a routine top-up and a sign of a larger issue. Adding a small amount of oil once between scheduled changes can be normal. However, if you find yourself adding a quart every 1,000 miles or more frequently, it’s a clear indication of a problem that needs professional diagnosis. There are also several red flag scenarios that demand immediate attention. If the red oil pressure warning light illuminates on your dashboard, you see visible puddles of oil forming under your car, or you notice significant amounts of smoke from the exhaust, it is unsafe to continue driving. In these cases, have the vehicle towed to a service center.
If your oil consumption is consistently high, a mechanic needs to investigate the root cause. Simply adding oil is a temporary fix that addresses the symptom, not the underlying problem, which could be worsening over time. Following these steps is fundamental to proper vehicle care. For more advice on preserving your vehicle’s powertrain, review our guide on how to keep your car’s engine running for years.
The Overlooked Dangers of an Overfilled Engine
There’s a common misconception that when it comes to engine oil, more is better. In reality, overfilling your engine with oil can be just as damaging as running it low. Understanding what happens if you overfill engine oil reveals why the ‘FULL’ mark on the dipstick is a limit, not a suggestion.
When the oil level is too high, the bottom of the spinning crankshaft can come into contact with the surface of the oil in the pan. As the crankshaft rotates at thousands of revolutions per minute, it whips the oil violently, churning it into a froth. This process, known as aeration, is similar to how you make a milkshake or whipped cream. The resulting foamy, aerated oil is filled with air bubbles and has severely diminished lubricating properties. The oil pump is designed to move liquid, not foam, so it cannot circulate this frothy mixture effectively. This leads to oil starvation in the upper parts of the engine, causing increased friction, heat, and accelerated wear on critical components.
The second major risk is a dramatic increase in internal crankcase pressure. The excess volume of oil leaves less space for the normal pressures created during engine operation to occupy. This elevated pressure puts immense stress on gaskets and seals throughout the engine. These components are designed to hold back liquid oil, not withstand high pressure. Eventually, they can fail, leading to significant and often expensive oil leaks. If you discover you have overfilled your engine, there is only one correct course of action: the excess oil must be removed. This typically involves carefully draining a small amount from the oil drain plug. If you are not comfortable performing this task, you should promptly visit a mechanic to have the oil level corrected before driving the vehicle further.
Fine-Tuning Your Technique for a Perfect Reading Every Time

Once you’ve mastered the basic warm-check procedure, a few extra details can help you get a perfect reading every time. These professional-level car maintenance tips ensure maximum accuracy and help you spot potential issues before they become serious.
First, never underestimate the importance of a level surface. To put it in perspective, a car parked on a standard sloped driveway can show a dipstick reading that is off by as much as half a quart. Always take the extra minute to find a flat spot. When handling the dipstick, use a smooth, straight pull and re-insertion. Angling it can scrape oil off the inside of the tube, smearing the reading. It’s also common for the two sides of a flat dipstick to show slightly different levels. In this case, always use the lower of the two readings as your most conservative and safest reference point.
Your check shouldn’t end with just the level. The dipstick provides a sample of the oil’s condition. New oil is typically a translucent, amber color. As it ages, it will darken to brown and eventually black as it accumulates contaminants. If the oil is dark and opaque, it’s likely due for a change. The most critical visual warning sign, however, is milky, frothy, or light-brown oil that looks like coffee with too much cream. This indicates that coolant is mixing with your oil, most likely from a failing head gasket. This is a severe condition that requires immediate professional diagnosis, and the vehicle should not be driven. Mastering these maintenance basics is especially important for those on a budget. For anyone looking for a reliable and affordable vehicle, our list of the best used cars for first-time buyers under $12,000 can be a great starting point.