
Understanding Why Your Coolant Is Disappearing With No Visible Leak
A vehicle’s cooling system operates as a sealed, pressurized circuit, a principle that has remained core to engine design for over a century. When the coolant level drops without leaving a puddle, it defies this basic principle and points to a hidden issue. This problem of coolant disappearing no leak is a frequent and perplexing situation for many vehicle owners. Your car is clearly losing coolant, but there are no tell-tale drips on the driveway to guide you to the source. This confusion is understandable, as a modern cooling system is engineered to be a closed loop. Any loss of fluid indicates a breach, not that the coolant is simply evaporating into thin air.
The mystery of a car losing coolant but not leaking typically points to one of two scenarios. The first is an external leak that is so small it evaporates on hot engine components before it has a chance to drip onto the ground. The second, and more serious possibility, is an internal leak where coolant is escaping into the engine itself. Both situations require attention because they compromise the cooling system’s ability to protect your engine from damaging heat. While the overflow reservoir provides a small buffer, consistently topping it off is a temporary fix that masks a potentially serious problem. Ignoring this symptom can lead to sudden engine overheating, which can cause catastrophic and expensive damage.
Common Culprits Behind Evaporative External Leaks
The most common reason for coolant loss without a visible puddle is an external leak that burns off before it hits the ground. When coolant drips onto a component hot enough to turn it to steam instantly, such as an exhaust manifold or the engine block, it vanishes. Often, the only clue left behind is a faint, sweet smell of antifreeze after you park or a crusty residue near the source of the leak. Identifying these elusive drips requires knowing where to look.
Small Hose and Radiator Leaks
The hoses and radiator in your cooling system are constantly under pressure. Over time, rubber hoses can become brittle and develop tiny pinholes, while aluminum or plastic radiator components can form hairline cracks. These flaws may only seep coolant when the system is hot and fully pressurized. As the engine runs, the escaping coolant sprays onto hot surfaces and evaporates immediately. A careful inspection when the engine is cool may reveal white, green, or pink crusty deposits around hose clamps, radiator seams, or the plastic end tanks. These stains are the mineral and dye remnants of boiled-off antifreeze and are a clear sign of a leak.
The Water Pump Weep Hole
The water pump is a critical component responsible for circulating coolant through the engine. It has an internal seal that separates the “wet” coolant side from the “dry” bearing side. To prevent a catastrophic failure if this seal begins to fail, manufacturers include a small “weep hole” on the pump housing. If the internal seal starts to leak, coolant will slowly drip from this hole. Because the water pump is often located on the hot engine block, this small amount of seepage usually burns off before it can form a puddle, making it a classic source of mysterious coolant loss.
Thermostat Housing and Expansion Tank Cracks
Many modern vehicles use plastic for components like the thermostat housing and the coolant expansion tank (reservoir). While lightweight and inexpensive, these parts are subjected to thousands of heat cycles. This constant expansion and contraction can cause the plastic to become brittle and develop hairline fractures. A crack that is invisible on a cold engine can open up just enough when hot to allow coolant to seep out and evaporate, only to close again as the engine cools.
The Hidden Heater Core Leak
The heater core is essentially a small radiator located inside your dashboard that provides heat to the cabin. A leak in the heater core is one of the most difficult to spot. Since it is hidden from view, coolant will not drip onto the ground. Instead, the symptoms appear inside the car. You might notice a persistent sweet smell of antifreeze inside the cabin, windows that fog up for no reason with a greasy film, or a damp spot on the passenger-side floor mat. These are all signs that the heater core is leaking coolant into the vehicle’s interior.
How Heat and Pressure Reveal Hidden Flaws
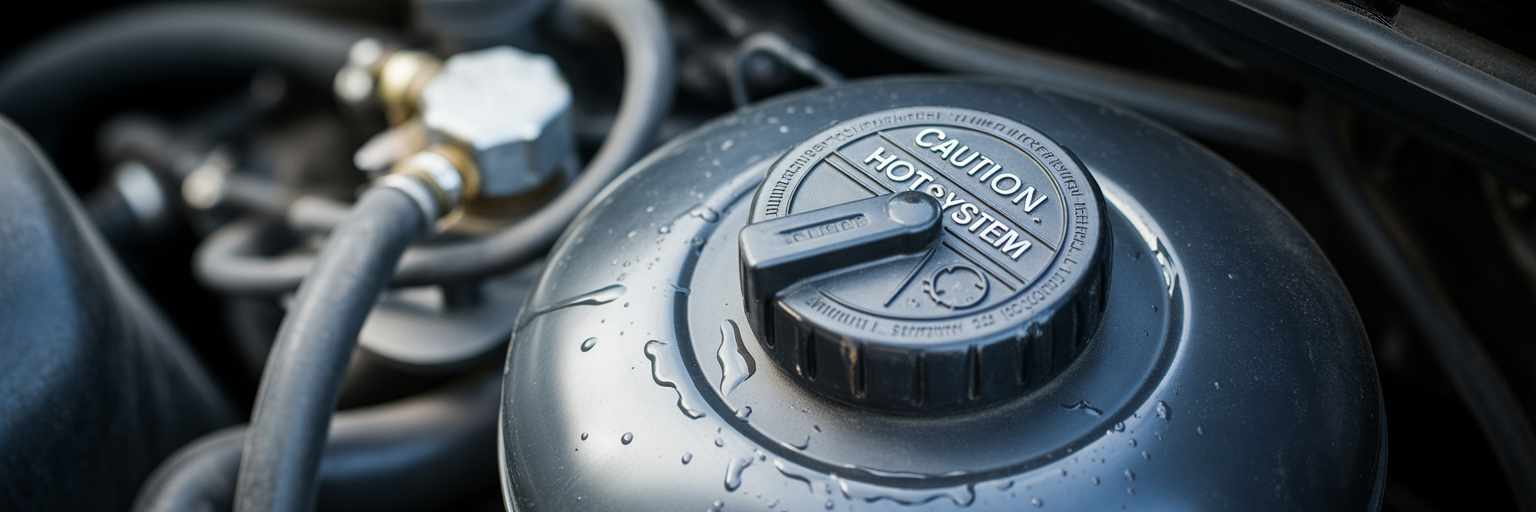
Understanding why some coolant leaks are invisible requires a grasp of the physics governing your car’s cooling system. It is not just a simple container for fluid; it is a dynamic environment where heat and pressure work together to manage engine temperatures. These same forces are what expose the smallest weaknesses in the system, turning a tiny flaw into a source of coolant loss.
The Science of a Pressurized System
Cooling systems are pressurized for one primary reason: to raise the boiling point of the coolant. Water at sea level boils at 212°F (100°C), but under a typical pressure of 15 PSI, a 50/50 mix of coolant and water will not boil until it reaches over 265°F (129°C). This higher boiling point allows the coolant to absorb more heat from the engine without turning into steam, which is ineffective at heat transfer. However, this necessary pressure puts every hose, gasket, and seal under constant stress. A pinhole leak that would not drip under normal atmospheric pressure can be forced to spray a fine mist of coolant when the system is hot and pressurized.
The Critical Role of the Pressure Cap
The radiator or expansion tank cap is far more than a simple lid. It is a precisely engineered two-way valve responsible for maintaining correct system pressure. It contains a spring-loaded valve that allows pressure to build to a specific point (e.g., 15 PSI) and then vents any excess into the overflow reservoir. A second, smaller valve allows coolant to be drawn back into the radiator from the reservoir as the engine cools. If the cap’s main seal is weak or the spring has failed, it will not be able to hold the designed pressure. This allows the coolant to boil at a lower temperature, creating steam that escapes through the overflow system. This slow, steady loss of steam leaves no liquid trace, yet the coolant level will consistently drop.
Heat Expansion and Material Fatigue
Engine components are made from a variety of materials, including aluminum, iron, plastic, and rubber, all of which expand and contract at different rates when heated. This constant movement puts stress on gaskets and seals. A head gasket, for example, must maintain a seal between an aluminum cylinder head and an iron engine block that are expanding and contracting with every drive cycle. Over time, this can cause materials to fatigue. A hairline crack in a plastic thermostat housing or a slight imperfection in a gasket might create a leak path that only exists when the engine is at full operating temperature. Once the engine cools and the components contract, the gap closes, making the leak impossible to find on a cold engine. This process of wear and tear is a key factor in understanding why some high-mileage cars age better than others, as robust engineering and materials can resist these stresses for longer.
Identifying the Signs of an Internal Coolant Leak
While external evaporative leaks are more common, the possibility of an internal coolant leak is far more serious. This occurs when coolant finds a path into the engine’s combustion chambers or oil passages. It is a significant issue that requires immediate attention, but accurate diagnosis is crucial to avoid jumping to expensive and unnecessary conclusions. The key is to recognize the specific symptoms that point toward an internal breach.
The Head Gasket: The Primary Suspect
The head gasket is a multi-layered seal sandwiched between the engine block and the cylinder head. Its job is to seal the combustion chambers, as well as the passages for coolant and oil that flow between the block and head. Due to the extreme pressures and temperatures it endures, a failed head gasket is the most common cause of an internal coolant leak. When it fails, it can allow coolant to enter a cylinder, mix with the engine oil, or allow combustion gases to be forced into the cooling system.
Symptoms of Coolant in the Combustion Chamber
When coolant leaks into a cylinder, it is burned along with the air-fuel mixture and expelled through the exhaust. This produces a distinct set of internal coolant leak symptoms. The most obvious of these are head gasket leak signs that you can see and smell:
- Persistent, thick white smoke from the exhaust pipe. This is not to be confused with the thin vapor you see on a cold morning; this smoke is dense, continues long after the engine has warmed up, and often has a noticeably sweet smell.
- Unexplained engine overheating, even when the coolant reservoir appears full. A leak into the combustion chamber can introduce air pockets into the cooling system, hindering circulation.
- Bubbles continuously rising in the coolant reservoir or radiator while the engine is running. This is a classic sign of combustion gas being forced into the cooling system through the breach in the head gasket.
- A spark plug that appears unusually clean, as if it has been steam-cleaned. This happens in the cylinder that is burning coolant, as the process effectively cleans off the normal carbon deposits.
Symptoms of Coolant in the Engine Oil
If the head gasket fails between a coolant passage and an oil passage, the two fluids will mix. This is extremely damaging to the engine, as coolant contaminates the oil and destroys its lubricating properties. The primary sign is a milky or frothy brown substance that looks like a chocolate milkshake. You can find this on the oil dipstick or clinging to the underside of the oil filler cap.
Other Potential Internal Leak Paths
While the head gasket is the most frequent culprit, it is not the only one. A cracked cylinder head or, in rare cases, a cracked engine block can also create a path for an internal leak. On some vehicles, particularly those with diesel engines, a leaking Exhaust Gas Recirculation (EGR) cooler can also allow coolant to be drawn into the engine’s intake. Because of these different possibilities, a professional diagnosis is essential to confirm the exact cause before beginning any major repairs.
Professional Diagnostics for Finding Coolant Loss
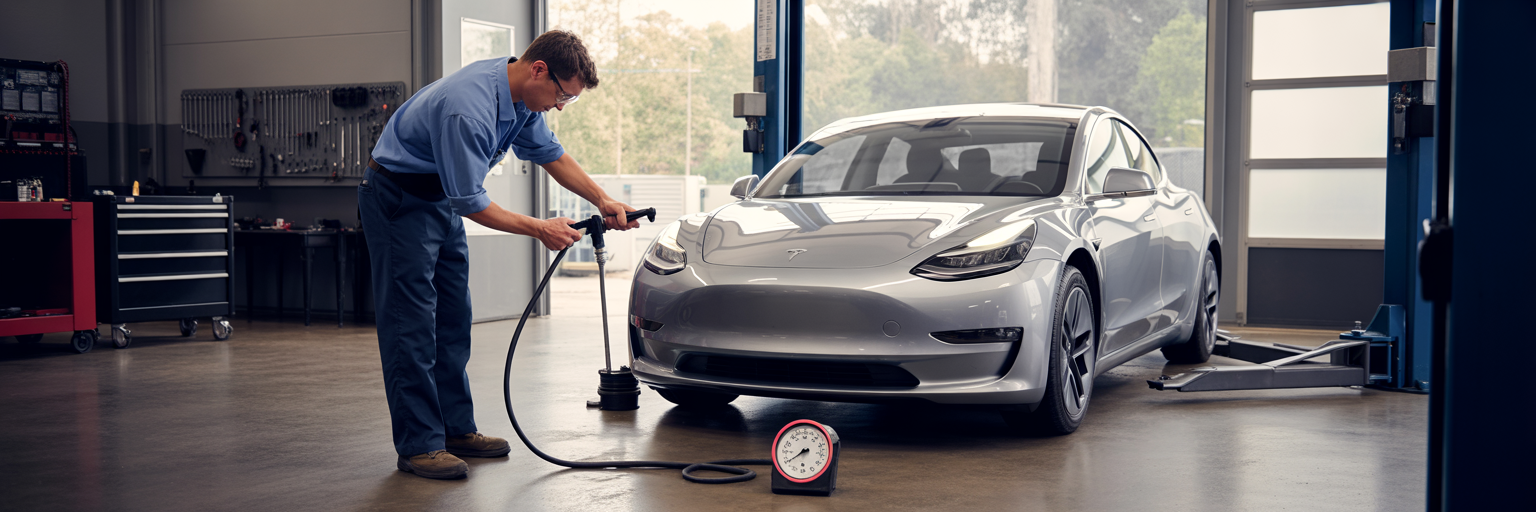
When you are faced with a mysterious coolant loss, guesswork is not a reliable strategy. Technicians use a range of specialized tools and methods designed to make invisible leaks visible and confirm internal breaches without disassembling the engine. Understanding how to find a coolant leak professionally can help you appreciate the diagnostic process and the importance of an accurate conclusion.
The most fundamental tool is the cooling system pressure test. A technician attaches a device with a hand pump and a pressure gauge to the radiator or expansion tank. With the engine cold and safe to work on, they pump air into the system, pressurizing it to the level specified on the cap. This pressure forces coolant out of any weak points, turning a slow, hot seep into a steady, cold drip that is easy to see. This test is excellent for finding small leaks in hoses, the radiator, the water pump, and plastic housings.
For evaporative leaks that are difficult to trace, technicians often use ultraviolet (UV) dye. A small amount of fluorescent dye is added to the cooling system. The owner is then instructed to drive the vehicle for a day or two to allow the dye to circulate and escape from any leak points. Afterward, the technician inspects the engine bay with a UV light. Any leaking coolant, even tiny amounts that have dried, will glow brightly, pinpointing the exact source of the leak on a hot component.
To diagnose an internal leak, the primary method is a combustion gas test, also known as a “block test.” This tool uses a special chemical fluid that changes color in the presence of exhaust gases. The device is placed over the radiator opening, and a sample of the air from the cooling system is drawn through the fluid. If the fluid changes color (typically from blue to yellow or green), it confirms that combustion gases are leaking into the coolant, a definitive sign of a breach like a failed head gasket.
| Diagnostic Method | What It Tests For | Best Use Case | Limitation |
|---|---|---|---|
| Cooling System Pressure Test | External leaks in hoses, radiator, gaskets, and plastic components. | Finding small external leaks on a cold, safe engine. | May not reveal leaks that only occur under extreme heat and vibration. |
| Ultraviolet (UV) Dye Test | Slow, evaporative external leaks that are hard to trace visually. | Pinpointing the exact source of a seep that burns off on hot surfaces. | Requires driving the vehicle to circulate the dye; can be messy. |
| Combustion Gas (Block) Test | Exhaust gases present in the cooling system. | Confirming an internal leak, such as a failed head gasket or cracked head. | Does not identify the exact location of the internal breach. |
| Visual Inspection (Oil & Plugs) | Coolant contamination in oil or evidence of coolant being burned. | Quickly identifying strong evidence of a significant internal leak. | Symptoms may not be present in the very early stages of a leak. |
This table outlines the primary diagnostic tools used by technicians. Often, a combination of these tests is required for a definitive diagnosis.
What to Monitor and When to Take Action
Once you suspect your vehicle is losing coolant, establishing a routine is the first step toward a solution. Get into the habit of checking the coolant reservoir level weekly, always when the engine is cold and parked on a level surface. This will give you a clear baseline and help you track the rate of loss. It is critical to understand that repeatedly topping off the coolant is not a repair; it is a temporary measure that allows the root problem to worsen. A slow leak today could become a major failure tomorrow, potentially leaving you stranded with an overheating engine.
While a slow loss of coolant requires attention, certain symptoms are critical warnings that mean you should stop driving immediately and have the vehicle towed to a repair shop. Driving with these symptoms can quickly turn a manageable repair into a complete engine replacement. Be vigilant for:
- The engine temperature gauge climbing rapidly into the red zone or a high-temperature warning light illuminating.
- The appearance of milky, frothy, or “milkshake”-like oil on the dipstick, indicating severe coolant contamination.
- Large, continuous clouds of dense white smoke billowing from the exhaust pipe.
- A low coolant warning light or check engine light that is flashing or staying on continuously.
A crucial safety warning must be heeded by every driver: NEVER attempt to remove the radiator or expansion tank cap when the engine is hot or even warm. The cooling system is under intense pressure, and opening the cap can cause an eruption of boiling coolant and steam, leading to severe burns. Always allow the engine to cool down completely for several hours before attempting to open the cap or add coolant.
If you have confirmed a consistent coolant loss but the source is not obvious, the safest and most cost-effective step is to consult a qualified technician. This diligence is a core part of a good maintenance routine and is essential if you want to know how to keep your car’s engine running for years to come. For more in-depth reviews, guides, and industry news, exploring a dedicated platform like Car Phanatics can provide valuable insights.
The Consequences of Neglecting Coolant Loss
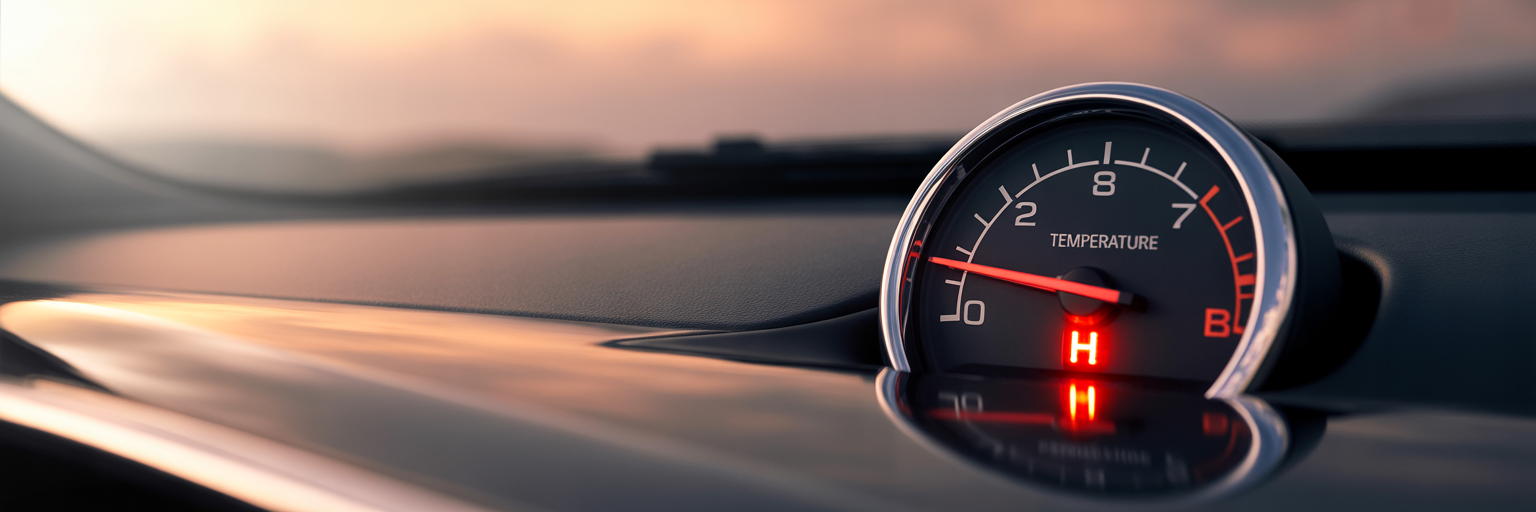
Ignoring a situation where your coolant is disappearing with no visible leak is a gamble that rarely pays off. The potential consequences extend far beyond the inconvenience of having to top off the reservoir. Neglecting the problem sets off a chain reaction of damage that can be catastrophic for your engine and your wallet. Chronic low coolant levels lead to hot spots within the engine, as air pockets prevent efficient heat transfer. This localized overheating can warp aluminum cylinder heads and blow head gaskets, which are some of the most labor-intensive and expensive engine repairs.
If the problem is an internal leak, the damage is even more direct and severe. Coolant mixing with engine oil completely destroys its ability to lubricate. Instead of a protective film, a watery, abrasive sludge is circulated through the engine, causing accelerated wear on bearings, camshafts, and other critical moving parts. This can quickly lead to complete engine seizure. Furthermore, coolant being burned in the combustion chamber and sent out the exhaust can foul oxygen sensors and destroy the delicate materials inside the catalytic converter, adding another high-cost repair to the bill. These types of major engine repairs are precisely what owners hope to avoid. A mysterious coolant loss will not fix itself. Investing in a proper diagnosis and repair early on is always more cost-effective than dealing with a catastrophic failure on the side of the road.