
Since its debut for the 1999 model year as the successor to the long running C/K series, the Chevrolet Silverado has put millions of V8 engines and heavy duty transmissions to work across global roads. Keeping these trucks running reliably requires looking past basic dashboard warnings and applying structured diagnostic testing before turning a single wrench. Understanding how to track down common issues in Chevrolet Silverado pickups separates a frustrating weekend of wasted money from a clean, permanent repair.
Systematic Roadmaps for Common Issues in Chevrolet Silverado
When a half ton pickup starts stumbling at idle or throwing erratic dashboard warnings, the temptation to immediately buy replacement sensors is strong. Mechanics call this firing the parts cannon. Swapping out oxygen sensors, mass airflow meters, or throttle bodies based on a hunch easily wastes hundreds of dollars while leaving the actual fault untouched. A frayed wire rubbing against the frame rail or a vacuum leak at the intake manifold gasket will trigger the exact same fault code as a dead sensor. Following a disciplined diagnostic roadmap ensures you test the circuit and mechanical system first, verifying the exact point of failure before spending money at the parts counter. That methodical mindset is the foundation of all the truck maintenance and evaluations we share for hands on owners.
Assembling Your Driveway Diagnostic Toolkit
Pinpointing faults on modern General Motors trucks requires moving beyond a basic test light and a set of combination wrenches. First, invest in a bi directional OBD II scanner capable of reading live data streams, short term and long term fuel trims, and transmission fluid temperatures, while also allowing you to command solenoids and relays on and off from the driver seat. Pair that scanner with a quality digital multimeter featuring min and max recording functions to catch momentary voltage drops during engine cranking. For mechanical assembly and electrical fastening, you will need both an inch pound torque wrench for delicate sensor bolts and electrical terminals, and a foot pound torque wrench for suspension and drivetrain hardware. Round out the kit with standard and deep metric socket sets, a magnetic spark plug socket, and a mechanical cooling system pressure tester.
Translating OBD-II Fault Codes and Dashboard Warning States
A common misconception among driveway mechanics is that an OBD II trouble code condemns a specific component. In reality, a fault code simply reports that an electrical signal or operational parameter has drifted outside the factory programmed threshold. For example, a lean fuel trim code means the engine computer is adding extra fuel to compensate for excess air or low fuel pressure, not that the oxygen sensor itself is broken. Before hooking up your scanner, pay close attention to how the check engine light behaves on the instrument cluster. A solid illuminated light indicates a stored fault that permits careful driving and stationary live data testing. Conversely, a flashing check engine light warns of a severe, active misfire dumping raw, unburned fuel directly into the exhaust stream. If that light starts blinking, shut the engine off immediately. Driving even a few kilometers with a flashing warning light will overheat and melt the internal honeycomb substrate of the catalytic converters, turning a simple ignition repair into an exhaust replacement exceeding $2,500. Disciplined tool preparation and accurate warning translation form the bedrock of effective truck maintenance.
Isolating Engine Misfires and Valvetrain Failures
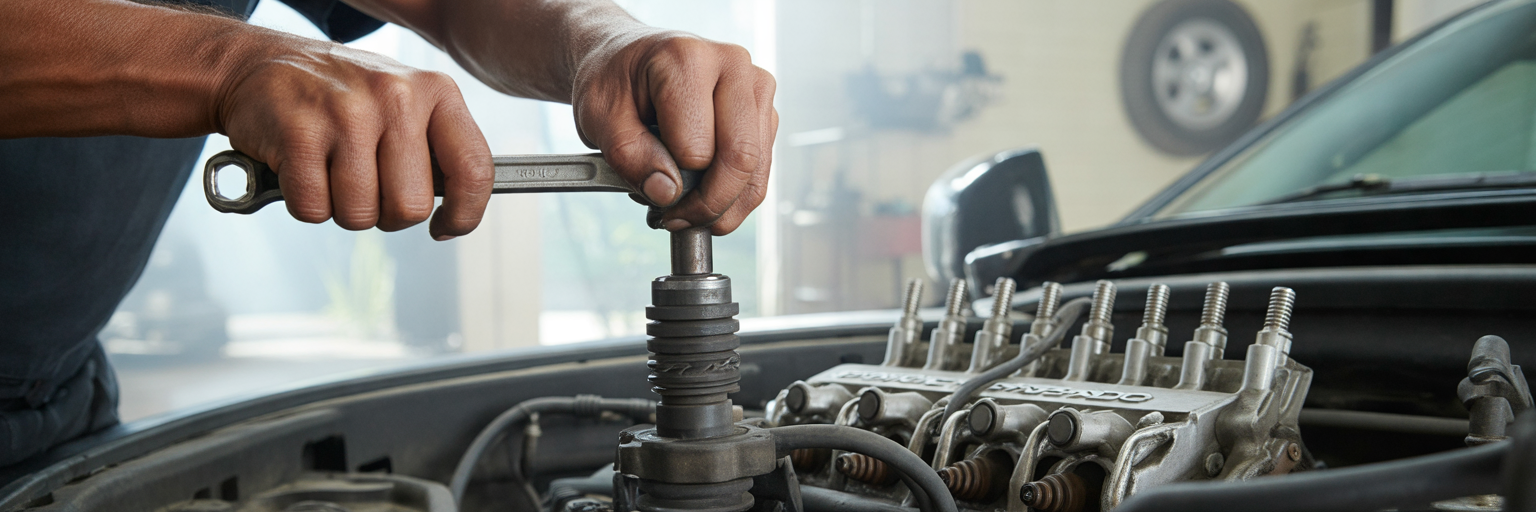
Once your scanner is connected and reporting a rough idle or hesitation under load, the focus shifts from general code reading to isolating cylinder performance. Executing an accurate Silverado engine misfire diagnosis requires separating external spark and fuel delivery problems from internal mechanical wear inside the small block V8.
Executing the Ignition Coil and Spark Plug Swap Test
When the engine control module logs a cylinder specific misfire code between P0301 and P0308, resist the urge to immediately buy eight new ignition coils. Instead, let the engine components test themselves through a systematic swap procedure.
- Record the active misfire cylinder number on a notepad and clear the stored fault codes using your OBD II scanner.
- Disconnect the negative battery terminal and remove the spark plug wire, spark plug, and ignition coil pack from the misfiring cylinder.
- Inspect the removed spark plug carefully for fine black carbon tracking lines down the white ceramic insulator, hairline cracks from improper installation, or wet oil fouling on the electrode. Check the inside of the rubber plug wire boot for chalky white corrosion.
- Move the suspect ignition coil to one adjacent cylinder, move the spark plug to a second healthy cylinder, and install the plug wire on a third cylinder, marking each part clearly with a paint pen.
- Reconnect the battery, start the truck, and monitor live misfire counters on your scan tool under light load. If the misfire migrates to one of the new cylinders, you have isolated the exact defective coil, plug, or wire without spending a dime.
Identifying Active Fuel Management and Dynamic Fuel Management Lifter Collapse
If you complete the swap test and the misfire remains stubbornly locked on the original cylinder, the ignition system is innocent. While a clogged fuel injector is possible, trucks equipped with the 5.3L or 6.2L V8 frequently suffer from internal valvetrain issues linked to Active Fuel Management (AFM) or newer Dynamic Fuel Management (DFM) systems. Understanding 5.3 Vortec lifter failure symptoms early can save the camshaft and engine block from catastrophic metallic contamination. These fuel saving systems use high pressure oil routed through a valley manifold to unlatch spring loaded pins inside special roller lifters, deactivating cylinders under light cruising loads. Over time, microscopic oil sludge or weak internal latching springs cause the lifter to collapse and wedge inside its bore when it tries to reactivate.
When an AFM or DFM lifter collapses, the valve stays closed while the camshaft keeps spinning. You will hear a distinct, rhythmic metallic ticking or chirping noise echoing from the top end of the engine that speeds up with RPM, often accompanied by a bent pushrod and zero compression on the affected cylinder. Because oil quality directly dictates how cleanly those internal lifter latches operate, adhering to the strict filtration and fluid schedules outlined in our guide on keeping your engine running for years is mandatory for any GM V8 owner.
Evaluating Disabling Devices Versus Mechanical Delete Kits
Walk into any truck forum and you will see heated debates over plug in OBD II disablers versus full mechanical delete kits. It helps to weigh both options realistically. A plug in disabler connects to the diagnostic port and alters software commands so the engine stays in full V8 mode at all times. While this prevents the oil switching solenoids from cycling and reduces wear on healthy lifters, it is purely preventative. A software dongle cannot unstick a physically collapsed lifter or straighten a bent pushrod. A true mechanical delete requires pulling the cylinder heads, replacing the fragile collapsing lifters with solid traditional LS7 style roller lifters, installing a non AFM camshaft, and reprogramming the engine computer. Always rule out simple ignition hardware through swap testing first before assuming your truck needs a major top end teardown.
Tracking Down Electrical Faults and Voltage Drops
Not every drivability hiccup on a full size pickup comes from the combustion chamber. Modern trucks rely on sensitive controller area networks that behave erratically the moment system voltage dips below a strict threshold. Solving Silverado electrical ground problems requires looking past the battery and alternator to inspect the heavy gauge cables connecting the chassis.
Recognizing Symptoms of High Resistance in 2014 to 2018 Models
Owners of 2014 to 2018 Silverado models frequently experience a terrifying combination of electrical gremlins that strike without warning. You might be turning into a parking space at low speed when the electric power steering assist suddenly cuts out, making the steering wheel feel like it is set in concrete. At the same time, the instrument cluster needles may sweep wildly and go blank, the radio reboots, the door locks cycle rapidly, and the dashboard chimes with a Service Stabilitrak warning. Despite how dramatic this feels behind the wheel, replacing the battery or alternator rarely fixes the problem. We have found time and again that these phantom warnings stem from high internal resistance inside the factory crimped battery cables and corroded chassis ground straps.
Performing a Loaded Voltage Drop Test on Battery Cables
Most DIY mechanics reach for a multimeter and measure resistance in ohms with the engine turned off. On a heavy gauge battery cable, a static ohm test is completely useless. Even if 95 percent of the copper strands inside the insulation have rotted away from green corrosion, a single intact strand will allow the tiny test current from your multimeter to pass through and display zero ohms. Learning how to test battery voltage drop under a real electrical load is the only way to expose hidden crimp resistance.
Set your digital multimeter to read DC millivolts (mV) or the lowest DC voltage scale. To test the positive side, place the red meter lead directly on the center lead post of the positive battery terminal (not the clamp bolt) and touch the black lead to the main B+ stud on the starter solenoid or the under hood fuse block. Have an assistant crank the engine or turn on the high beam headlights, rear defroster, and cabin blower motor on high speed. Next, test the negative side by placing one lead on the negative battery post and the other directly on clean cast metal on the engine block under the same electrical load. As detailed in a technical service analysis by Vehicle Service Pros, any reading exceeding 200 mV (0.2 volts) across a cable confirms excessive internal resistance that requires cable replacement, while battery cable clamp nuts must be torqued to 62 in lb and under hood fuse block connections secured to 11 ft lb. Adhering to these exact torque figures prevents loose terminals from arcing and distorting soft lead posts.
Cleaning and Torquing Primary Chassis Ground Locations
If your cables pass the voltage drop test, turn your attention to the primary chassis grounds. General Motors coated the steel frames of these trucks in a thick, waxy corrosion inhibitor at the factory. Over years of road salt and rain splash, moisture creeps underneath that wax at the ground eyelets, creating an insulating barrier between the wire terminal and the steel frame. Crawl underneath the passenger side front wheel well and locate the main G101 ground point on the frame rail just behind the front bumper near the starter. Unbolt the eyelet, use a wire wheel or coarse abrasive pad to strip the black frame wax and rust down to bright bare steel, coat the connection in conductive electrical grease, and torque the bolt firmly. Repeat this process on the braided ground strap linking the back of the cylinder head to the firewall and the interior dash ground located behind the driver side A pillar kick panel. Combining loaded voltage drop testing with clean, properly torqued grounds resolves the vast majority of phantom electronic glitches.
Troubleshooting Six-Speed and Eight-Speed Transmission Shudder
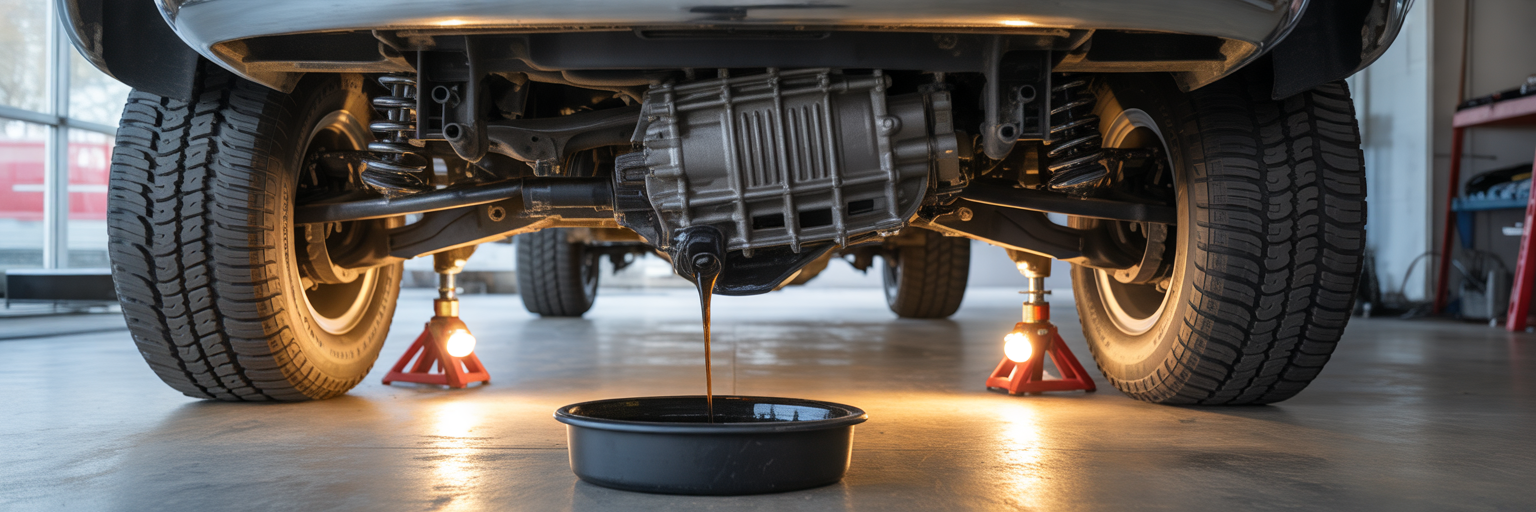
Once the engine is firing cleanly and the electrical system holds steady voltage, drivetrain vibrations become much easier to isolate. Pickups built between 2014 and 2019 equipped with the six speed 6L80 or eight speed 8L90 automatic transmission are notorious for hydraulic complaints that mimic engine misfires or out of balance tires. Executing a proper Silverado transmission shudder fix starts with identifying how the torque converter behaves during light cruising.
Diagnosing Torque Converter Clutch Stick-Slip Vibration
Drivers experiencing torque converter shudder almost always describe the exact same sensation: the truck feels like it is driving over highway rumble strips for two or three seconds during light acceleration between 40 and 80 km/h (25 to 50 mph), and the vibration vanishes the instant you lift your foot off the accelerator pedal. This happens because the torque converter clutch (TCC) is programmed to apply early and maintain a controlled microscopic slip to dampen engine vibrations and improve fuel economy. In 8L90 transmissions especially, the original factory automatic transmission fluid was highly hygroscopic, meaning it absorbed ambient moisture through the transmission vent tube during heating and cooling cycles. That water contamination degrades the friction modifiers in the fluid, causing the converter clutch lining to grab and release rapidly against the steel housing in a phenomenon engineers call stick slip chatter.
Executing Fluid Exchanges and Thermal Bypass Valve Upgrades
Before assuming the transmission needs a complete rebuild, connect your bi directional scan tool and monitor the TCC slip speed PID alongside transmission fluid temperature during a highway test drive. If slip speed oscillates wildly while the truck shudders, the hydraulic circuit is struggling to hold steady clutch engagement. For the eight speed 8L90, General Motors released a mandatory fluid update utilizing Mobil 1 Synthetic LV HP (distinguished by its blue label), which resists moisture absorption far better than the original fill. Performing a complete fluid exchange to purge the old moisture laden fluid from the cooler lines and converter resolves the vibration in the vast majority of trucks caught early.
While servicing the six speed 6L80, you also need to address its external thermal bypass valve mounted on the cooler lines near the transmission case. This aluminum block houses a wax pellet thermostat designed to warm the fluid quickly in winter. Unfortunately, the thermostat frequently sticks closed, starving the front radiator cooler of flow and spiking fluid temperatures past 100 degrees Celsius. Replacing the factory thermostat internals with an updated bypass valve plug kit allows continuous cooler flow and drops average operating temperatures by 15 to 20 degrees Celsius. Keeping those hydraulic temperatures in check is non negotiable if your pickup mirrors the heavy duty configurations featured in our analysis of the best used trucks for towing a camper.
However, fluid chemistry has mechanical limits. After completing the Mobil 1 fluid exchange, the friction modifiers require roughly 300 kilometers of normal driving to fully condition the clutch surfaces. If the rumble strip vibration persists past that 300 kilometer mark, the carbon friction lining inside the torque converter is already glazed or delaminated, requiring physical torque converter replacement.
This diagnostic table summarizes the progression of hydraulic and mechanical faults in General Motors 6-speed and 8-speed automatic transmissions based on published technical service bulletins and standard shop telemetry parameters.
| Symptom and Speed Range | Primary Technical Cause | Scan Tool Data Indicator | Recommended Corrective Action |
|---|---|---|---|
| Light vibration at 40 to 80 km/h under mild throttle | Moisture contamination in hygroscopic fluid causing clutch stick-slip | TCC slip speed oscillating between 15 and 60 RPM | Complete fluid exchange with updated synthetic LV HP fluid |
| Harsh shudder accompanied by whining noise from bellhousing | Delaminated torque converter lining and clogged filter pickup | Elevated fluid temperatures above 105 C and low line pressure | Replace torque converter, flush cooler lines, and inspect pump |
| Delayed engagement when shifting from Park to Drive or Reverse | Worn pressure regulator valve in pump or cracked Sonnax piston | Desired versus actual pressure mismatch at idle | Install valve body repair kit or rebuild hydraulic pump assembly |
| Rapid overheating during highway cruising or light towing | Stuck thermal bypass valve restricting flow to front cooler | Transmission fluid temperature exceeding engine coolant by 20 C | Install updated thermostat bypass valve plug kit |
Catching transmission shudder at the earliest tremor and flushing the fluid immediately saves the hydraulic pump and valve body from circulating destructive metal debris.
Resolving Ten-Speed Transmission Harsh Shifting and Software Glitches
When General Motors introduced the ten speed 10L80 automatic transmission for 2019 and newer Silverado models, the classic hygroscopic fluid shudder largely disappeared, replaced by a much more complex web of electronic controls and tightly packed clutch packs. Because this exact ten speed gearbox is shared across GM full size platforms, as we noted in our comparison of the Chevrolet Tahoe and Ford Expedition, understanding its electronic quirks applies to both pickup and SUV owners.
Investigating Technical Service Bulletins and TCM Calibrations
With ten forward gears controlled by six internal clutches and multiple variable bleed solenoids, the 10L80 relies heavily on its Transmission Control Module (TCM) to execute seamless skip shifts. When owners complain of a harsh clunk when coasting to a stop between third and first gear, a two second delay when shifting from Reverse to Drive in the morning, or erratic gear hunting on gentle highway grades, the first step is never draining the fluid. You must start by checking published Technical Service Bulletins (TSBs) for your exact model year. The TCM uses adaptive clutch volume learn tables to constantly adjust hydraulic fill times as the clutches wear. Occasionally, software bugs corrupt these adaptive tables, causing the computer to spike line pressure unnecessarily. Having a dealership or independent shop flash the TCM with the latest factory calibration update and perform a scan tool adaptive learn reset fixes a surprising number of harsh shifting complaints without touching a single bolt on the transmission pan.
Differentiating Solenoid Valve Body Sticking from Software Quirks
Of course, software cannot fix a physically jammed hydraulic valve. The 10L80 is known to suffer from sticking pressure control solenoids and worn anodized bores inside the lower valve body, which can suddenly drop the truck into limp mode and lock out upper gears. Technicians separate a harmless software calibration quirk from a failing valve body by looking at repeatability and fault telemetry. A software glitch usually produces a consistent, repeatable clunky shift under a very specific throttle angle or coasting speed without illuminating the check engine light. Conversely, a sticking valve body bore or solenoid causes sudden RPM flare shifts where the engine revs up between gears, logs hard gear ratio error codes or solenoid performance faults in the TCM, and fails when commanded to cycle during a bi directional solenoid actuation test on a scan tool.
Navigating Complex Fluid Level Checks Without a Dipstick
If your diagnosis points toward a fluid service or valve body replacement on a 10L80, be prepared for a major departure from traditional driveway maintenance. General Motors eliminated the under hood transmission dipstick tube on these ten speed units to seal the system against moisture and debris. Checking or setting the fluid level requires raising the truck completely level on four heavy duty jack stands or a two post lift. Because an internal thermal bypass element keeps fluid trapped inside the cooler passages until the gearbox reaches full operating warmth, you must idle the engine while monitoring live OBD II transmission temperature data until the fluid sits strictly within the factory specified check window, typically between 75 and 80 degrees Celsius. Only then can you remove the small standpipe level plug on the bottom of the transmission pan with the engine running to verify a steady trickle of fluid. Always verify software calibrations and TSB history first before attempting invasive mechanical work on a modern ten speed.
Addressing Oil Consumption, Cooling Leaks, and Suspension Wear

Beyond major engine and transmission electronics, high mileage Silverados develop predictable mechanical wear patterns across their sealing surfaces, cooling plumbing, and front chassis joints. Staying ahead of these smaller leaks and mechanical tolerances is the secret behind why some high mileage vehicles age better than others over decades of hard use.
Mitigating V8 PCV Oil Consumption and Cooling System Pressure Losses
Many owners of high mileage 5.3L V8 trucks notice their dipstick reading a full liter low every 3,000 kilometers despite having bone dry concrete underneath the truck. Before blaming worn piston rings, inspect the Positive Crankcase Ventilation (PCV) system integrated into the driver side valve cover. Earlier valve cover designs lacked adequate internal baffling around the fixed PCV orifice, allowing high velocity crankcase vapors to suck liquid oil mist straight out of the rocker arm area and dump it directly into the intake manifold to be burned in the combustion chambers. Installing the updated General Motors baffled valve cover and cleaning carbon deposits out of the intake throttle body dramatically reduces oil consumption on healthy engines.
Similarly, mysterious drops in coolant level rarely leave obvious green or orange puddles because the liquid evaporates against hot engine metal while driving. Instead of waiting for an overheating warning, attach a manual cooling system pressure tester to the reservoir with the engine cold and pump the system up to 15 psi (103 kPa). Use a bright flashlight to inspect three notorious Silverado leak zones: hairline stress cracks along the horizontal plastic mold seam of the pressurized surge tank, crusty pink or orange mineral trails weeping from the water pump mating gaskets on the front of the engine block, and degraded rubber O rings inside the black plastic heater core quick connect fittings mounted along the passenger side firewall.
Conducting Front-End Suspension and Steering Play Inspections
Full size trucks that spend their lives hauling payloads or bouncing down rutted dirt trails put immense leverage on their independent front suspension joints. To inspect the front end properly, chock the rear wheels, jack up the front of the truck directly underneath the lower control arm as close to the wheel as safely possible, and support it on a heavy duty jack stand. Placing the stand under the control arm keeps the coil spring compressed and unloads the ball joints so they can actually move during testing. Slide a long pry bar underneath the bottom of the tire and lift upward repeatedly while watching the lower and upper ball joints for any vertical axial popping movement. Next, grab the tire firmly at the 3 and 9 o’clock positions and rock it back and forth; any clunking or free play here points to worn inner or outer tie rod ends. While you have the front wheels elevated or removed to get a clear view of the upper control arm bushings, take five minutes to measure your remaining rotor and friction material using our step by step brake pad replacement guide.
Many Silverado owners rely on their trucks for weekend bass boat towing and backcountry camping trips where a roadside breakdown ruins the entire trip. Just as avid anglers follow proven methods on how to protect fishing gear during travel by securing fragile graphite rods against bed vibration, your truck requires a disciplined mechanical checklist before hitching up a heavy trailer:
- Verify engine oil level and inspect the PCV intake tube for pooled liquid oil before long highway grades.
- Pressure test the cooling system to 15 psi and wiggle the plastic heater core firewall tees to ensure brittle plastic will not snap under towing heat.
- Check front upper and lower ball joints for vertical play and grease any aftermarket fittings to prevent wandering steering with a loaded tongue weight.
- Inspect the rear differential pinion seal and axle tube breathers for gear oil weeping before submerging the rear tires on wet boat ramps.
- Monitor live transmission fluid temperatures via an OBD II display to confirm the thermal bypass valve opens cleanly under load.
Knowing When to Hand the Keys to a Certified Technician
Empowering yourself with a scan tool and a multimeter transforms how you maintain a pickup, saving thousands of dollars in diagnostic fees over the life of the vehicle. However, smart driveway mechanics also know where to draw a firm boundary between high return DIY maintenance and heavy mechanical overhauls that require commercial shop infrastructure.
Drawing the Line Between Driveway Repairs and Heavy Overhauls
Tackling an ignition coil swap test, stripping corrosion off chassis grounds, replacing rotted battery cables, exchanging transmission fluid, and bolting on an updated baffled valve cover are rewarding weekend projects that require zero specialized machinery. On the other hand, attempting an internal AFM or DFM lifter replacement in a home garage without extensive engine building experience can quickly turn into a mechanical nightmare. Replacing lifters on a 5.3L or 6.2L V8 requires removing the intake manifold, fighting rusty exhaust manifold bolts that love to snap off flush inside the cylinder head, and lifting heavy cast aluminum cylinder heads out of a deep engine bay. Once the heads are off, you must meticulously scrape the engine block deck surfaces clean without dropping a single speck of old gasket material into the exposed oil galleys, replace every head bolt with brand new single use torque to yield fasteners tightened with an electronic angle gauge, and reprogram the Engine Control Module if installing a mechanical delete camshaft.
The same realism applies to major transmission work. Dropping a 90 kilogram 8L90 or 10L80 transmission coupled to a heavy four wheel drive transfer case while lying on your back under garage jack stands presents severe physical crush hazards. Furthermore, installing a new torque converter requires precise bellhousing depth measurements, and swapping a 10L80 valve body demands a professional J2534 pass thru programming interface connected to General Motors factory servers to calibrate the new solenoid flow rates to the vehicle computer.
- Green Light DIY Repairs: Ignition coil and spark plug swap testing, loaded voltage drop testing and battery cable replacement, G101 frame ground cleaning, 6L80 thermal bypass valve upgrades, PCV baffled valve cover swaps, and cooling system pressure testing.
- Red Light Professional Shop Jobs: Cylinder head removal and AFM/DFM lifter replacement, camshaft swaps, torque converter R&R on jack stands, internal transmission pump rebuilds, and 10L80 valve body solenoid programming.
Communicating Your Diagnostic Findings to a Repair Shop
When a repair crosses into professional territory, the diagnostic homework you completed in your driveway becomes your greatest asset at the service counter. The secret to getting fast, honest service is presenting your objective test measurements rather than walking in and demanding that the mechanic replace a specific part. Service advisors and technicians understandably push back when a customer says, “Put a new lifter in cylinder four,” because the shop carries the financial liability if that guess turns out to be wrong.
Instead, hand the advisor a brief written sheet detailing your factual observations and test data. Tell them, “The truck has an active P0304 code with a metallic top end tick; I swapped the ignition coil to cylinder two and the spark plug to cylinder six, and the misfire stayed locked on cylinder four.” Or, for an electrical complaint, state clearly, “The power steering cuts out intermittently at idle, and I measured a 350 mV voltage drop across the negative battery cable during a loaded crank test.” Presenting hard telemetry immediately earns the respect of the technician, eliminates redundant exploratory labor charges, and directs the shop straight to the root cause. Approach every quirk on your Chevrolet Silverado with systematic testing first, fix the accessible electrical and fluid faults yourself, and partner confidently with professionals when heavy iron needs to come apart.