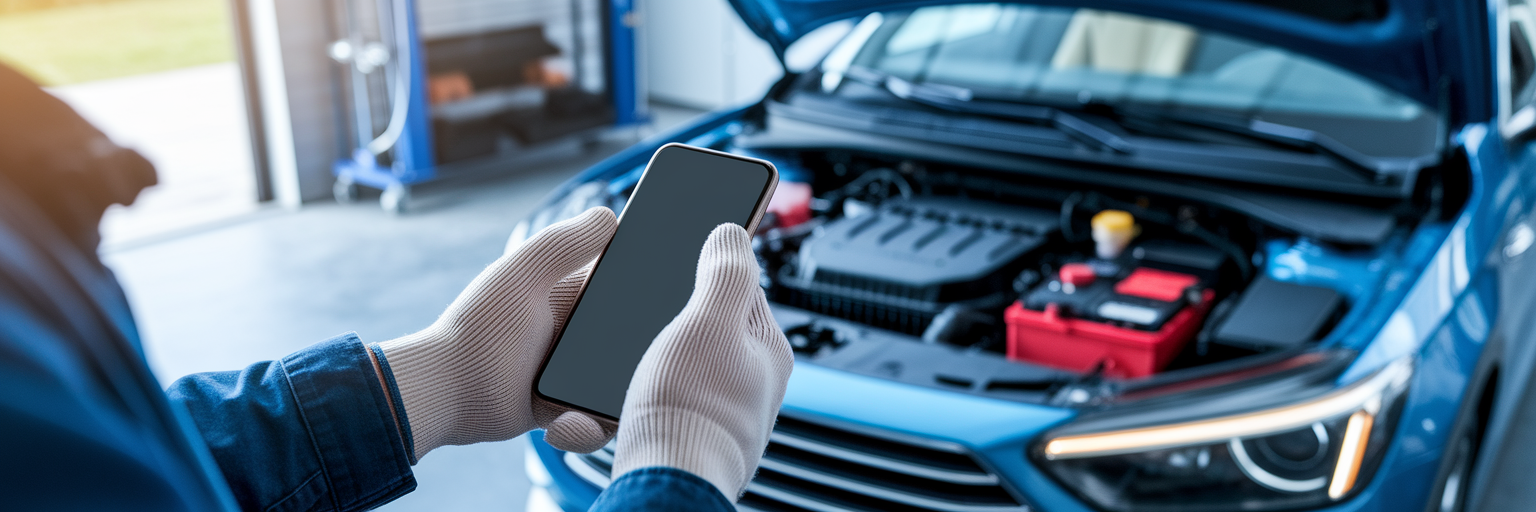
Replacing a car battery is one of those maintenance tasks that feels more intimidating than it actually is. While it demands precision and respect for safety, it is a manageable job for most vehicle owners. This guide provides a clear path to help you safely replace car battery components, saving you a trip to the garage and giving you the satisfaction of a job well done.
Before You Begin: Safety and Preparation
Before you even think about touching the battery, your first priority is creating a secure environment. This isn’t a task to rush. Start by parking your car on a flat, stable surface. A heavy battery can easily tip over on an incline. Ensure the area is well ventilated, like an open garage or driveway, because lead-acid batteries can release flammable hydrogen gas during operation.
With the car parked, engage the parking brake, turn off the engine, and let it cool down. Now, gather your personal protective equipment. This isn’t optional. Safety goggles are essential to protect your eyes from accidental splashes of corrosive sulfuric acid. A pair of insulated gloves will guard your hands against both electrical current and chemical residue.
Next, assemble your toolkit. Having everything within reach prevents unnecessary scrambling later. You will need:
- Wrench or Socket Set: Most battery terminals and brackets use 10mm or 13mm nuts.
- Battery Terminal Cleaner or Wire Brush: This is crucial for removing corrosion that hinders performance.
- Anti-Corrosion Grease: A small packet is enough to protect the new connections from moisture and future buildup.
For modern vehicles, consider a memory saver. This small device plugs into your car’s OBD-II port or cigarette lighter, providing just enough power to prevent the onboard computers from resetting. It’s a simple tool that saves you the headache of reprogramming your radio presets, clock, and engine idle settings.
Sourcing the Correct Replacement Battery
One of the most common frustrations in a DIY car battery replacement is returning from the auto parts store with the wrong unit. To avoid this, you need to do a little homework first. Start by confirming your battery’s location. While most are found under the hood, some manufacturers place them in the trunk or even under a seat to improve weight distribution. Your owner’s manual is the definitive guide for this.
Once you have located the battery, examine its label for three critical specifications. Understanding these will ensure you buy the correct replacement:
- Group Size: This defines the battery’s physical dimensions, terminal placement, and type. The new battery must match this to fit in the tray and connect properly.
- Cold Cranking Amps (CCA): This measures the battery’s ability to start your engine in cold weather. You should meet or exceed your vehicle manufacturer’s recommendation.
- Reserve Capacity (RC): This indicates how long the battery can run essential electronics if the alternator fails.
In 2025, not all batteries are created equal, especially with the rise of start-stop technology. Choosing the right type is vital for your car’s electrical health.
| Battery Type | Best For | Key Characteristics | Relative Cost |
|---|---|---|---|
| Standard Flooded Lead-Acid | Older vehicles without high electrical demands | Lowest cost, requires occasional maintenance (topping up water) | $ |
| Enhanced Flooded Battery (EFB) | Entry-level vehicles with start-stop technology | More durable and cycle-resistant than standard batteries | $$ |
| Absorbent Glass Mat (AGM) | Modern vehicles with start-stop, advanced safety features, and high power needs | Spill-proof, vibration resistant, superior performance and lifespan | $$$ |
To eliminate any guesswork, use the online fitment guides offered by most auto parts retailers. These tools allow you to enter your vehicle’s year, make, and model to see a list of compatible batteries. For instance, when searching for parts for a specific make like a Ford, these guides are invaluable. You can explore more about popular brands like the ones behind the F-150 on our dedicated brand pages.
Step-by-Step: Disconnecting the Old Battery
With the right battery in hand, it is time to remove the old one. The first step is to correctly identify the positive (+) and negative (-) terminals. They are almost universally color-coded, with red indicating positive and black indicating negative. You will also see corresponding symbols stamped on the battery case itself.
Now for the golden rule of this entire process: always disconnect the negative terminal first. This is the single most important safety instruction for a reason. Your car’s metal frame acts as the electrical ground, and it is connected to the negative terminal. By disconnecting the negative cable first, you break the entire electrical circuit. This simple action eliminates the risk of creating a dangerous spark, which could happen if your metal wrench accidentally touched the positive terminal and a grounded part of the car at the same time. The correct disconnecting car battery order is not just a suggestion; it is a fundamental safety protocol. As confirmed by multiple automotive experts, including Kia’s own service guides, this sequence is fundamental to preventing short circuits.
Follow these steps precisely:
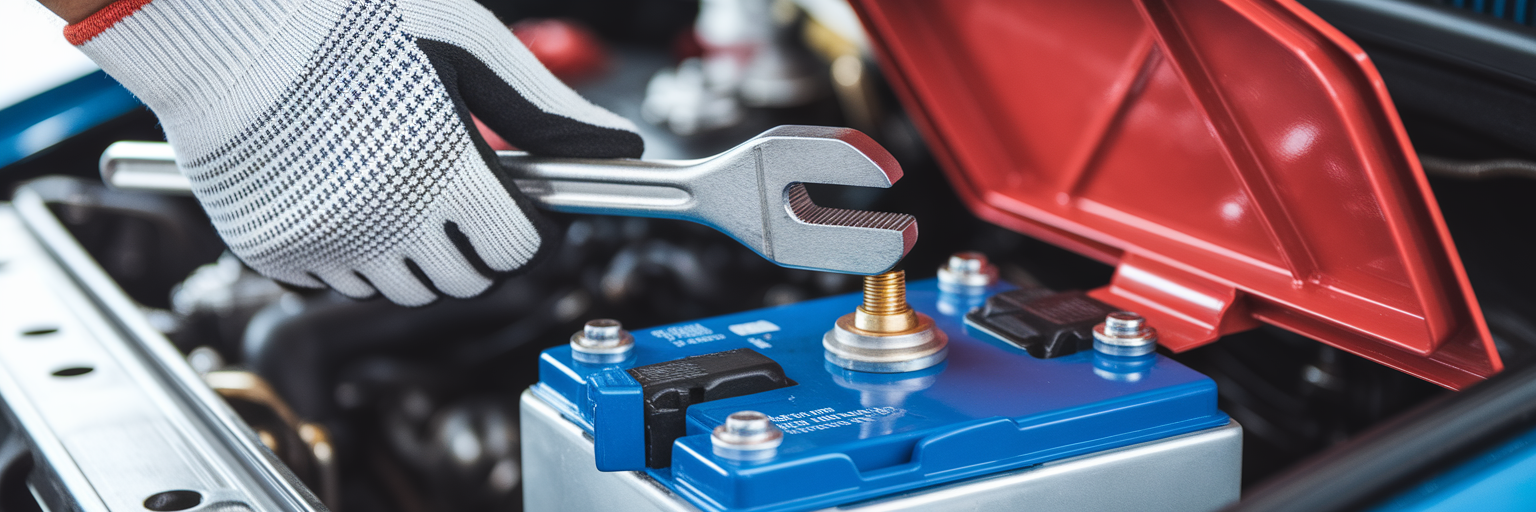
- Using the correct size wrench, loosen the nut on the negative terminal clamp. You only need to loosen it enough to wiggle the clamp free.
- Gently twist and lift the negative cable off the battery post. Tuck it securely to the side, making sure it cannot accidentally spring back and touch the terminal.
- Now, repeat the exact same process for the positive terminal cable. Loosen the nut, then lift the cable off and secure it away from the battery.
With both cables disconnected, the final step is to remove the battery hold-down bracket. This clamp or strap secures the battery in its tray, preventing it from shifting while you drive. Unbolt it and keep the hardware in a safe, memorable spot, as you will need it for the new installation.
Installing the New Car Battery
Installing the new battery is more than just reversing the removal steps. Proper preparation at this stage is key to ensuring a solid connection and long-term performance. Before placing the new battery, take a moment to clean the battery tray and terminal clamps. Any of that white or greenish powder is corrosion, and it impedes electrical flow. Use a wire brush and a simple paste of baking soda and water to scrub the clamps and tray until they are clean.
Now, you are ready to place the new battery. Remember that it is heavy, often weighing between 18 and 27 kilograms (40-60 lbs), so lift with your legs to avoid straining your back. Carefully lower it into the tray, ensuring the positive and negative posts are oriented correctly to align with their respective cables. Once it is seated, reinstall the hold-down bracket and tighten it until the battery is firm and does not wobble.
For the connections, you will follow the reverse rule: connect the positive terminal first. The safety logic is the same but in reverse. With the negative (ground) cable still disconnected, there is no complete circuit. This means you can safely tighten the positive clamp without any risk of sparks if your wrench touches the car’s frame. These are the essential car battery installation steps for a safe outcome.
Before making the final connection, apply a thin layer of anti-corrosion grease to both battery posts. This protective film seals the connection from moisture. Finally, connect the negative cable and tighten its clamp securely. Give both connections a firm wiggle by hand to confirm they are tight and will not come loose. Keeping up with automotive best practices is always a good idea, and you can stay informed by checking the latest car news on our site.
Post-Installation Checks and System Resets
With the new battery installed, you are on the home stretch. Before you celebrate, there are a few final checks to perform. First, do a quick sweep of the engine bay to ensure you have not left any tools behind. Close the hood, get in the car, and turn the key. The engine should start up without hesitation. Do not be alarmed if a few dashboard lights flicker on and then turn off; this is normal as the car’s computers reboot.
But what to do after changing car battery if the car does not start? Before you panic, check the most common culprits:
- Loose Connections: Double-check that both terminal clamps are clean and tightened securely. A weak connection is the most frequent cause of a no-start.
- Incorrect Installation: Confirm the positive and negative terminals are connected to the correct cables and that the battery is not installed backward.
If these simple checks do not resolve the issue, it might be time to investigate other causes. A helpful resource for diagnosing starting problems can be found in our guide on why a car won’t start.
You will likely notice that your radio presets and clock are gone. If you did not use a memory saver, you will need to re-enter your radio’s security code (if applicable) and reset functions like ‘auto’ power windows, which usually involves holding the button down for a few seconds. Finally, your engine’s computer (ECU) needs to recalibrate. This ‘relearn process’ is simple: let the car idle for 5-10 minutes, then take it for a short, gentle drive. This allows the ECU to adjust to the new power source.
Proper Disposal and Environmental Responsibility

Your DIY car battery replacement is not complete until the old battery is handled correctly. It is mandatory to recycle old car batteries because they contain hazardous materials like lead and sulfuric acid, which are highly toxic. They must never be thrown in household trash, as this can lead to severe soil and groundwater contamination.
Fortunately, recycling is easy. Nearly all auto parts stores, service garages, and municipal recycling centers are equipped to accept old batteries, usually at no charge. When you buy a new battery, you will likely pay a “core charge,” which is a deposit. This deposit is fully refunded when you return your old battery. This system makes recycling not just an environmental responsibility but also a smart financial move that reduces the overall cost of the job. For more tips and guides on vehicle maintenance, readers can always explore resources at Carphanatics.