Changing a car battery seems straightforward, but it’s a task that demands respect. A modern car battery is a small box of controlled chemical reactions, and handling it improperly can lead to serious injury or damage to your vehicle’s electronics. This guide provides the clear, no-nonsense steps to get the job done correctly and safely, ensuring your car starts reliably without any unexpected drama.
Essential Safety Before You Begin
Before you even touch a wrench, understanding the risks is your first line of defense. A car battery contains three distinct hazards: corrosive sulfuric acid that can burn skin and eyes, flammable hydrogen gas that can be ignited by a single spark, and enough electrical current to cause a nasty shock or weld a metal tool to your car’s frame. Understanding these risks is crucial, as a dead or dying battery is often the primary reason you might find yourself asking, why won’t my car start?
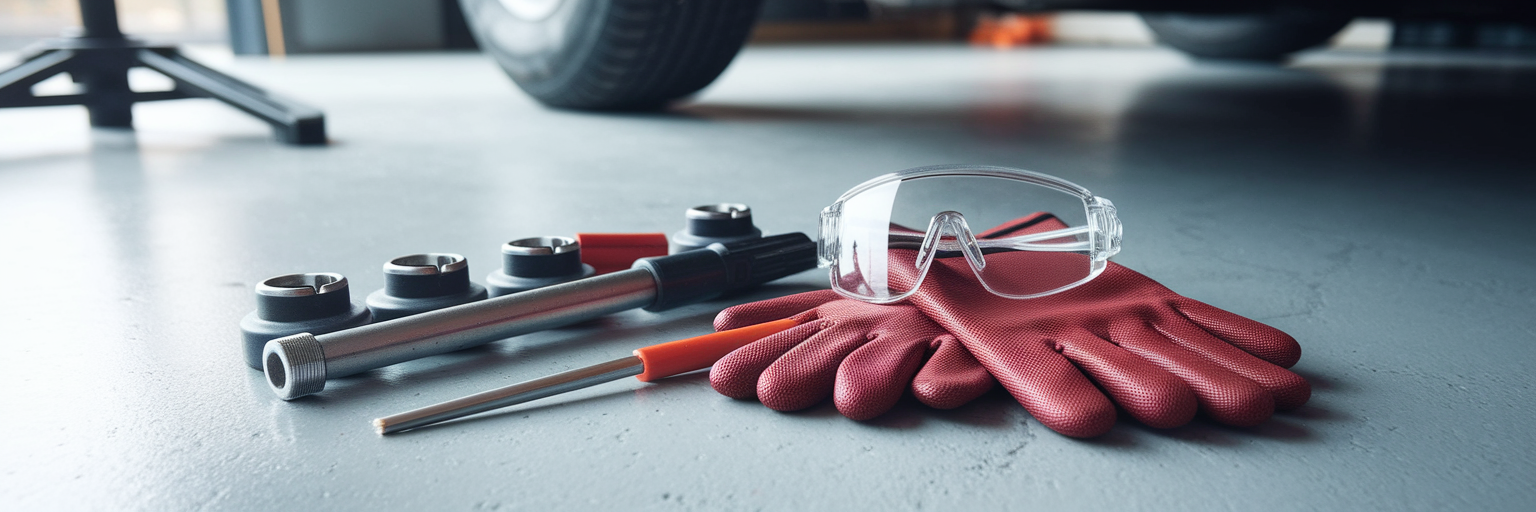
Your personal protective equipment (PPE) is non-negotiable. You will need insulated gloves to protect your hands from acid and prevent you from becoming part of an electrical circuit. You also need proper eye protection. According to a safety guide from Prevent Blindness, it is essential to use ANSI Z-87.1 splash-proof safety goggles to protect your eyes from accidental acid splashes. Regular glasses are not enough.
Prepare your workspace properly. Park the car on a level surface, turn off the engine, and engage the parking brake. Ensure the area is well-ventilated to disperse any hydrogen gas that might be present. The most overlooked but critical step is to remove all metal jewelry. A wedding ring, watch, or necklace can instantly create a short circuit if it bridges the positive terminal and a grounded metal surface, causing severe burns or a battery explosion. Taking these precautions is the only way to safely replace car battery components without incident.
Gathering Your Tools and the Right Battery
Walking into a job with the wrong equipment is like trying to cook a meal without all the ingredients. It creates frustration and leads to mistakes. Before you begin, gather all the necessary tools for changing car battery components and confirm you have the correct replacement. This simple preparation step separates a smooth, 20-minute job from a frustrating afternoon of trips to the auto parts store.
Your Essential Toolkit
You don’t need a professional mechanic’s chest, but a few specific tools are required. A socket or wrench set is essential for loosening terminal clamps and the hold-down bracket. The most common sizes are 10mm and 1/2 inch, but check your vehicle. A battery terminal cleaner is a small, inexpensive wire brush designed to scrub corrosion off the posts and cable clamps, ensuring a solid connection for your new battery.
Choosing the Correct Replacement Battery
Not all batteries are created equal. Your owner’s manual is the definitive source for your car’s battery requirements. Look for three key specifications: group size (which dictates the physical dimensions), Cold Cranking Amps (CCA) (the power to start in cold weather), and reserve capacity (how long it can run accessories with the engine off). The battery needs for a compact sedan will differ from those for larger vehicles, such as the models found in our guide to trucks. A quick tip: take a clear photo of the label on your old battery before heading to the store.
Helpful Extras for a Smoother Job
A few extra items can make the process much easier. A battery carrier is a simple strap handle that makes lifting the heavy, awkward battery out of its tight compartment much safer. A computer memory saver is a small device that plugs into your car’s OBD-II port or cigarette lighter, providing power to the vehicle while the battery is disconnected. This prevents you from losing your radio presets, clock settings, and other onboard computer data.
| Tool | Primary Purpose | Pro-Tip |
|---|---|---|
| Socket/Wrench Set (10mm, 12mm, 1/2″) | To loosen and tighten terminal clamps and the hold-down bracket. | An adjustable wrench can work, but a socket set provides a better grip and reduces the risk of stripping nuts. |
| Insulated Gloves | Protect hands from corrosive acid and prevent electrical shock. | Choose gloves that offer good dexterity for handling small nuts and bolts. |
| ANSI-Rated Safety Glasses | Shield eyes from accidental acid splashes or sparks. | Ensure they provide full coverage, including from the sides. |
| Battery Terminal Cleaner / Wire Brush | To scrub away corrosion from cable ends and battery posts. | A circular terminal cleaner tool is designed for this job and cleans both posts and clamps effectively. |
| Anti-Corrosion Spray or Grease | To protect the new terminals from future corrosion buildup. | Apply after the new battery is fully connected and tested. |
Note: This table lists the essential tools for a standard car battery replacement. Some vehicles may require additional tools, so always consult your owner’s manual first.
A Detailed Guide to Battery Replacement
With your safety gear on and tools at the ready, you can now begin the replacement. Following these car battery replacement steps in the correct order is critical for preventing electrical shorts and ensuring a successful installation. This is the definitive guide on how to change a car battery correctly.
- Locate the Battery and Identify Terminals: Open the hood and find the battery. It will have two connection points, or terminals. The positive terminal is marked with a “+” symbol and usually has a red plastic cover. The negative terminal is marked with a “-” symbol. While most batteries are under the hood, some brands, including certain Ford models, may place them in the trunk or under a seat.
- Disconnect the Negative Cable First: This is the most important step. Use your wrench to loosen the nut on the negative terminal clamp. Once loose, gently twist and pull the cable off the terminal post. Tucking the cable to the side ensures it cannot accidentally touch the post again. Disconnecting the negative first removes the ground connection for the entire electrical system, preventing sparks if your wrench touches metal while working on the positive side.
- Disconnect the Positive Cable: Now, repeat the process for the positive terminal. Loosen the nut, twist and pull the cable off, and secure it away from the battery.
- Remove the Battery Hold-Down Bracket: The battery is secured by a bracket or clamp. Locate the bolts holding it in place and remove them. Keep the hardware in a safe place.
- Lift Out the Old Battery: With everything disconnected, carefully lift the old battery out of its tray. Remember, it is heavy and may have acid residue on its surface. Use a battery carrier if you have one.
- Clean the Battery Tray and Terminals: Inspect the battery tray for corrosion or leaked acid. Clean it with a mixture of baking soda and water, which will neutralize the acid. Use your terminal cleaning tool or a wire brush to scrub the inside of the cable clamps until they are shiny metal. A clean connection is vital for performance.
- Install the New Battery: Place the new battery into the tray, ensuring it is oriented correctly with the positive and negative terminals on the proper sides.
- Secure the Hold-Down Bracket: Reinstall the hold-down bracket and tighten it until the battery is snug. It should not be able to slide or wobble.
- Connect the Positive Cable First: When reconnecting, you work in the reverse order. Place the positive cable clamp onto the positive terminal post and tighten the nut until it is secure. Do not overtighten.
- Connect the Negative Cable Last: Now, connect the negative cable to the negative terminal and tighten it. You may see a tiny, harmless spark as you make this final connection, which is normal as the car’s electrical system powers up.
- Apply Anti-Corrosion Protection: With both terminals securely connected, spray a thin layer of anti-corrosion protectant or apply a dab of dielectric grease over the terminals and clamps. This will prevent future buildup.
Final Checks and Responsible Disposal

With the new battery installed, the job is almost done. Before you close the hood, start the car. It should turn over smoothly. Don’t be alarmed if a few dashboard lights, like the check engine or traction control light, appear briefly. The car’s computer is simply recalibrating after losing power. These lights should turn off after a short drive. After the engine has run for a minute, turn it off and give the terminal clamps one final check to ensure they are still tight.
Now for the final step: what to do with the old battery. You must know how to dispose of old car battery units properly. Car batteries are classified as hazardous waste and it is illegal to throw them in your household trash. The good news is that recycling them is easy and financially smart. When you purchased your new battery, you likely paid a “core charge.” This is a deposit that is refunded to you when you return the old battery to the retailer. Simply bring the old battery back to the auto parts store, and they will handle the recycling and give you your core charge back. With your new battery installed, you’re ready to hit the road. For more automotive guides and news, explore everything CarPhanatics has to offer.
Tips to Maximize Your Battery’s Lifespan
A new battery is a significant investment, so it makes sense to protect it. By adopting a few good habits, you can extend its life and avoid being stranded. These simple car battery maintenance tips can make a real difference.
- Avoid Frequent Short Trips: Your car’s alternator recharges the battery while you drive, but it needs time to work. Consistently taking trips under 15 minutes doesn’t give the alternator enough time to fully replenish the power used to start the engine, slowly draining the battery over time.
- Keep Terminals Clean and Tight: Corrosion on the terminals acts like insulation, forcing your alternator to work harder to charge the battery and restricting the flow of power when you start the car. A quick visual inspection every few months is all it takes.
- Limit Power Use with the Engine Off: Listening to the radio or charging your phone for a few minutes is fine, but running electronics for extended periods without the engine running is a quick way to drain your battery completely.
- Perform Periodic Health Checks: Just as you’d investigate why is my car squeaking when I drive, periodic battery tests can prevent you from being stranded. After your battery is about three years old, have it tested. Most auto parts stores in the US will perform a free electronic test that can tell you if your battery is still healthy or nearing the end of its life.