That sinking feeling when you find a damp carpet or a drip from the headliner after a storm is familiar to many car owners. It’s a frustrating problem that seems to appear out of nowhere.
Understanding How Water Enters Your Vehicle
Modern vehicles are engineered with complex water management systems, not to be completely sealed submarines. A leak is often a sign that this system has failed, not just that a random hole has appeared. Your car is designed with an entire network of channels, drains, and seals intended to catch rainwater and guide it safely back outside. When you find water leaking in car when it rains, it means something has either blocked this path or a seal has broken down.
Think of it like the gutters on your house. When they are clear, they channel torrents of rain away from your foundation. But once they get clogged with leaves and debris, the water overflows and ends up where it shouldn’t, like inside your walls. Your car works on the same principle. Debris such as pine needles, leaves, and dirt are the primary culprits for blockages. Over time, they accumulate in hidden drains, causing water to back up and spill into the cabin.
The other major cause is the simple effect of time and the elements on materials. Rubber weatherstripping becomes brittle and cracks, while sealants and adhesives dry out and lose their bond. Understanding that these materials have a finite lifespan is part of knowing why some high-mileage cars age better than others; proactive maintenance can prevent these failures. A frustrating aspect of these leaks is that the wet spot you see is often just the final destination. Water is sneaky and can travel along wiring harnesses, under trim panels, or behind the headliner before it finally drips onto your seat or floor.
Ignoring a leak is never a good idea. The consequences go far beyond a damp inconvenience and can lead to serious, expensive problems:
- Mold and Odors: A damp interior is a perfect breeding ground for mold and mildew, which create persistent musty smells and can pose health risks.
- Electrical Damage: Modern cars are packed with sensitive electronics. Water can short out control modules, wiring harnesses, and infotainment systems, leading to costly and difficult-to-diagnose electrical gremlins.
- Corrosion: Constant moisture will cause floor pans and other structural components to rust from the inside out, compromising the vehicle’s integrity.
First Steps to Pinpointing a Water Leak
Before you start pulling apart interior panels, a methodical approach will save you a lot of time and frustration. The key is to test systematically instead of guessing. Start with a thorough visual inspection. Don’t just look at the puddle on the floor. Begin at the lowest, wettest point and carefully trace the path of moisture upward. Look for water stains on trim panels, the headliner, or along pillars. This upward trace often leads you closer to the true entry point.
Once you have a general idea, it’s time for a controlled water test. This is the most effective way to find car water leak. Grab a garden hose, but resist the urge to use a high-pressure nozzle. A gentle “shower” setting is all you need, as it more accurately mimics rainfall. The most important rule is to test only one area at a time. Start with the most likely suspect based on your visual inspection. For example, if you suspect the sunroof, soak only the sunroof area for several minutes. Then wait. If no water appears, move on to the next area, like the windshield, and then a specific door seal. This isolation is critical; spraying the whole car at once will leave you guessing.
This test is best performed with a partner. One person stays inside the car with a powerful flashlight, keeping a close watch on the suspected interior area. The other person controls the hose outside. The moment the inside person sees the first drop of water, you’ve found your entry point. For checking the integrity of door and trunk seals, a simple trick is the talcum powder test. Lightly dust the rubber seal with powder, close the door or trunk firmly, and then open it. A perfect seal will leave an unbroken line of powder on the body. Gaps in the powder line show you exactly where the seal isn’t making proper contact.
| Symptom (Location of Water) | Primary Suspects | Secondary Suspects |
|---|---|---|
| Wet Front Floorboard (Driver or Passenger) | Clogged Cowl Drains | Windshield Seal, Door Vapor Barrier |
| Stains or Drips on Headliner | Clogged Sunroof Drains | Roof Rack Mounts, Windshield Seal |
| Wet Rear Seat or Floor | Clogged Rear Sunroof Drains | Rear Window Seal, Rear Door Seal |
| Puddle in Trunk or Spare Tire Well | Trunk Lid Seal, Taillight Gaskets | Third Brake Light Seal, Body Seam |
| Water Dripping from Interior Door Panel | Failed Door Vapor Barrier | Damaged Window Seal (Outer Beltline) |
Water on the Front Floorboards: Checking Cowl and Windshield Seals
A wet front floorboard is one of the most common water leak complaints, and the culprit is often hiding in plain sight. Your first suspect should be the cowl plenum. This is the area at the base of your windshield where the wiper arms are mounted. It’s designed to catch water and channel it away through drains on either side, typically exiting behind the front wheel wells. Over time, this area acts as a magnet for leaves, pine needles, and other debris. When the drains get clogged, the cowl plenum fills up like a bathtub. The water level rises until it finds an escape route, which is often the cabin’s fresh air intake, pouring directly onto the passenger side floor.
To check the cowl drains, you may need to remove a plastic cover. Once you can see into the plenum, look for accumulated debris. You can often clear these drains with a few simple tools. A blast of compressed air can sometimes dislodge the blockage. Alternatively, a long, flexible wire can be used to snake through the drain and break up the clog. Pouring hot water down the drains can also help dissolve and flush out compacted gunk. When the car floor wet after rain is a recurring issue, regular cowl cleaning should become part of your maintenance routine.
If the cowl drains are clear, the next place to look is the windshield seal. The urethane adhesive that bonds the glass to the car’s body can fail with age, but a more frequent cause is a poor installation during a windshield replacement. A small gap in the seal is all it takes for water to get in. It will then run down the inside of the A-pillar, hidden behind the trim, and soak the carpet. A leak on the passenger side is almost always the cowl drain, though a clogged A/C evaporator drain can cause a similar wet floor (this water will appear even without rain). A driver-side leak points more toward the windshield seal, a cowl drain on that side, or a failed grommet where wiring or the steering column passes through the firewall. One final note: if the liquid on your floor is oily and has a sweet smell, you likely have a leaking heater core, which is an entirely different problem involving your cooling system.
Headliner Stains and Drips: Investigating Sunroofs and Roof Racks
Seeing water stains spreading across your headliner or feeling a drip on your head is alarming, but the source is usually one of two things: the sunroof or a roof rack. Many people assume a sunroof leak means the main seal has failed, but that’s rarely the case. Sunroofs are not designed to be perfectly watertight. Instead, they have a water management system consisting of a catch tray, or cassette, that sits under the glass. This tray is designed to catch any water that gets past the seal and funnel it into four drain tubes, one at each corner. These tubes run down the car’s pillars and exit underneath the vehicle.
A leak from the sunroof area almost always means one or more of these drains are clogged. Testing them is straightforward. Open the sunroof and locate the drain holes in the corners of the tray. Slowly pour a small amount of water into one corner. You should see water flowing out from under the car, usually behind the front wheel or in front of the rear wheel on that same side. If the water backs up into the tray or, worse, starts dripping inside the car, that drain is blocked. The process for clogged sunroof drain cleaning requires a careful approach.
- Locate the clogged drain hole in the sunroof tray.
- Use a very flexible tool, like a long piece of nylon trimmer line (the kind used for a weed whacker), and gently feed it down the drain tube. Work it back and forth to break up the blockage.
- Once you feel the blockage clear, follow up by pouring a small amount of water down the tube to flush out any remaining debris.
- Test again to ensure water flows freely out the bottom of the car.
A critical warning: never use high-pressure compressed air or a stiff metal wire. High pressure can disconnect the drain tube from the nipple on the catch tray, and a stiff wire can puncture the tube. Both scenarios create a much bigger problem, as the tube will then be dumping water directly inside your headliner or pillar trim. If the trimmer line doesn’t work, low-pressure air (under 30 psi) can be attempted with caution. Beyond the sunroof, roof racks are another common source. Both factory and aftermarket racks have mounting points that are sealed with gaskets. Over time, these gaskets can dry out, crack, and fail, allowing water to seep in and stain the headliner. This is especially true for some of the best used luxury SUVs that won’t destroy you on repairs, where these features are common and may have aging seals.
Wet Rear Seats and Floors: Common Culprits Behind the Front
Discovering moisture in the back of your car requires a similar diagnostic approach, but with a few unique suspects. If your vehicle has a sunroof, the first place to check is the rear drain tubes. Just like the front drains, these tubes run from the back corners of the sunroof cassette down through the C-pillars (the pillars on either side of the rear window) and are just as prone to clogging. A blockage here will cause water to overflow the catch tray and leak onto the headliner above the rear seats or run down the inside of the C-pillar trim, soaking the rear seat bolsters and floor.
If you don’t have a sunroof or have confirmed the drains are clear, the next likely culprit is the rear window seal. It functions just like the front windshield seal and can fail in the same ways. The rubber can shrink and pull away from the glass, or the adhesive bond can degrade, allowing water to seep in at the top or sides and run down behind the interior panels. Rear door seals can also be a source. While it’s less common for a door seal to fail catastrophically, even a small tear or a compressed section can allow drips to get past. This water typically lands on the door sill and then soaks into the edge of the carpet, eventually spreading across the rear floor.
One of the most important concepts to understand with rear floor moisture is water migration. Don’t get tunnel vision looking for a leak in the back. A severe leak at the front of the car, like a badly clogged cowl drain, can completely saturate the front carpet and the thick jute padding underneath. This moisture doesn’t just stay put; it wicks its way backward under the seats, eventually making the rear footwells feel damp or even wet. This is especially true if you regularly park your car on an incline, with the nose pointing uphill. Gravity will help pull all that water from the front to the back, making you think the leak is in the rear when it’s actually much further forward.
Moisture Inside the Doors: Diagnosing Vapor Barriers and Seals
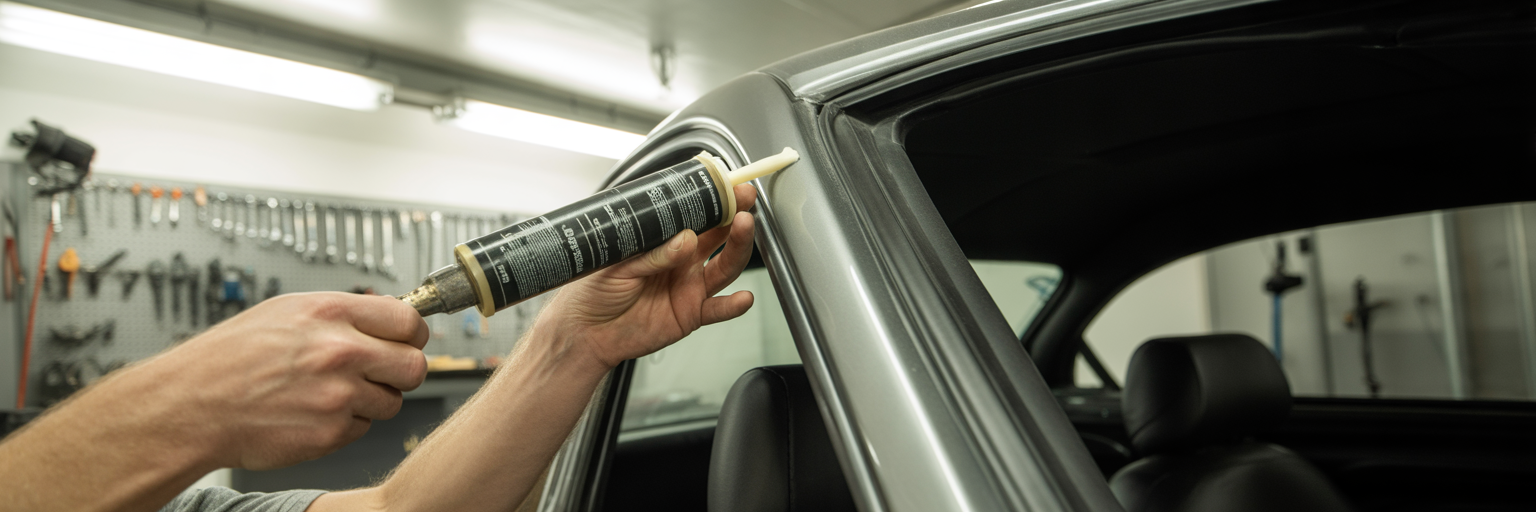
If you notice water dripping from the bottom of your interior door panel or find a puddle on the door sill after it rains, the problem lies within the door itself. To understand this leak, you need to know how a door is designed to manage water. It has a two-part defense system. The first line of defense is the outer window seal, also called the beltline molding. This is the rubber strip that presses against the outside of the glass. However, this seal is not, and cannot be, perfectly waterproof. Water is expected to get past it and run down inside the door shell.
This is where the second part of the system comes in. The bottom of the door shell has drain holes that allow this water to exit safely back outside. The critical component that separates this wet area from your dry cabin is the door vapor barrier. This is a sheet of plastic or foam that is glued to the inner metal structure of the door, right behind your interior door panel. Its only job is to act as a shield, ensuring that the water running down inside the door goes to the bottom and out the drains, rather than splashing inward onto the back of your fabric or leather door panel.
This leak almost always happens because the vapor barrier has failed. The butyl adhesive used to seal it can dry out and lose its grip over time, creating gaps. More commonly, the barrier is damaged or not properly re-sealed after a previous repair, like a window regulator replacement or speaker installation. A technician in a hurry might just rip it off and fail to put it back correctly. To inspect it, you’ll need to carefully remove the interior door panel. Once it’s off, the vapor barrier will be visible. With the barrier exposed, you can perform a water test. Have someone spray the outside of the window with a hose while you watch from the inside. You will quickly see if water is getting past the barrier and running down the wrong side.
A Puddle in Your Trunk: Inspecting Seals and Taillights
Finding a swimming pool in your spare tire well is a classic sign of a trunk leak. Fortunately, the sources are usually straightforward to find and fix. The most common culprit is the main trunk lid seal. This large rubber gasket runs around the perimeter of the trunk opening and can become compressed, torn, or misaligned over the years, creating a path for water. A simple way to check its integrity is with the “dollar bill test.” Place a dollar bill over the seal and close the trunk lid. If you can pull the bill out with little to no resistance, the seal is not making good contact in that spot. Work your way around the entire seal to find any loose areas.
If the main seal seems fine, the next major suspect is the taillight gaskets. This is an often-overlooked but very frequent failure point. Each taillight assembly is sealed to the car’s body with a foam gasket. Over time, this foam compresses and degrades, allowing water to seep in around the taillight housing. The water then runs down inside the body panels and collects in the lowest point, which is almost always the spare tire well. To properly fix car trunk water leak issues, you often have to look beyond the main seal.
Other potential sources include the seal for a third brake light, especially on SUVs and hatchbacks where it’s mounted high on the liftgate. Trunk-mounted antennas and even the emblems can also be leak points if their seals fail. Finally, inspect the channels around the trunk opening for cracked body seam sealer. This sealer is applied at the factory where metal panels are joined, and it can become brittle and crack with age. To find the exact entry point, your best strategy is to clear everything out of the trunk. Remove the carpet, all the liners, and the spare tire. Then, climb inside with a good flashlight and have an assistant spray the trunk area with a hose, focusing on one section at a time. Watch carefully for the first sign of a drip or water trail.
After the Leak: Drying Your Interior and Preventing Damage
Once you’ve found and fixed the leak, your work isn’t done. Getting the interior completely dry is just as important as stopping the water from coming in. You need to act quickly, as mold and mildew can begin to grow in as little as 24 to 48 hours in damp, dark conditions. As noted by automotive repair experts like Haynes Manuals, stopping the water from entering in the first place is the most critical step, but remediation is a close second. A thorough drying process is essential.
Follow these steps to dry your car’s interior properly:
- Remove Standing Water: Use a wet/dry shop vacuum to suck up as much standing water as possible from the carpet and floor pans.
- Access the Padding: Remove the floor mats. You must lift the carpet to get to the thick jute padding underneath. This padding acts like a giant sponge and will never dry on its own if it’s trapped under the carpet. Prop up the carpet to allow air to circulate underneath.
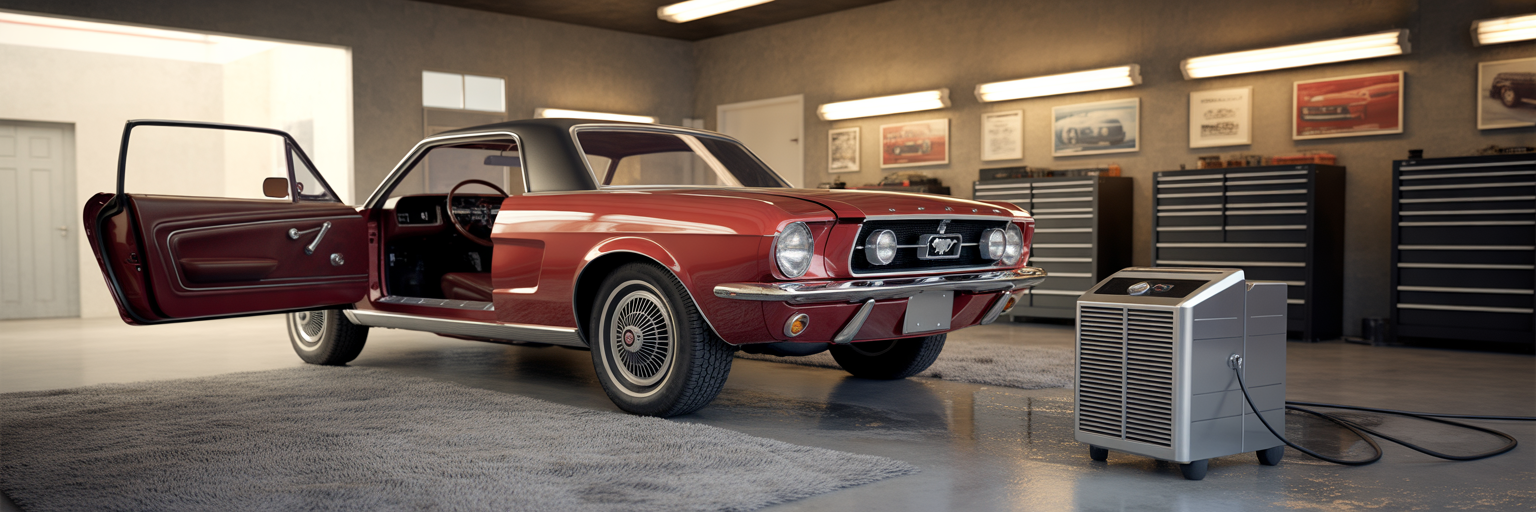
- Promote Air Circulation: Use fans to blow air directly onto the wet carpet and padding. If you have one, place a dehumidifier inside the car, close the doors and windows, and let it run for a day or two. This is the most effective way to pull deep moisture out of the upholstery and padding.
After the area is completely dry, you need to clean it to prevent mold in car interior. A simple solution of one part white vinegar to one part water sprayed on the affected area can kill mold spores. For more serious cases, you can use a dedicated automotive mold remover. If a musty odor lingers, you may need to take more aggressive measures. An ozone generator or a chlorine dioxide bomb can eliminate stubborn odors, but you must follow the safety instructions carefully. These treatments require you to seal the car and let the gas work, and you absolutely cannot be inside the vehicle while it’s operating.
Maintaining a Dry Interior for the Long Haul
Preventing future leaks is far easier than chasing them down after the fact. A little proactive maintenance can save you from the headache of a wet interior. Make it a habit to check and clear your vehicle’s drains, especially the sunroof and cowl drains. The best time to do this is in the late fall, after most of the leaves have fallen, as this is when they are most likely to cause blockages. A quick flush with water or a gentle pass with a flexible line can keep them flowing freely.
Pay attention to your rubber seals as well. Regularly clean the door, trunk, and sunroof seals with a damp cloth to remove dirt and grit that can cause abrasion. After cleaning, treat them with a silicone-based conditioner. This keeps the rubber soft and flexible, preventing it from drying out and cracking. It’s a small step that can significantly extend the life of your seals.
Finally, know the limits of DIY repair. While clearing drains and conditioning seals are easy tasks, some jobs are best left to professionals. If you suspect a failed windshield bond or find cracked body seam sealer in a structural area, it’s wise to consult an auto glass specialist or a body shop. They have the right tools and materials to ensure a permanent, watertight repair. This kind of proactive care is fundamental to vehicle ownership and is a key part of how to keep your car’s engine running for years, as it reflects a holistic approach to maintenance that protects your entire investment.