Seeing a dashboard warning light can be unsettling, so if you are looking for how to fix vehicle lights malfunction Audi Q5, you have come to the right place. This alert is your car’s way of telling you that its central electronics system has detected a problem somewhere in the lighting circuits. It is a general notification, not a specific diagnosis, but it is the starting point for figuring out what needs attention.
At the heart of your Audi’s electrical system is the Body Control Module (BCM), which Audi often calls the Central Electrics Module or J519. Think of this module as the brain overseeing all lighting functions. It continuously monitors every bulb, switch, and sensor for the correct voltage and resistance. When it detects an anomaly, like an open circuit from a burned-out bulb or an unusual signal from a switch, it triggers the vehicle lights malfunction warning on your dashboard. This sophisticated system ensures you are aware of any issue, from a simple bulb failure to a more complex electrical fault.
While the dashboard warning is generic, a proper diagnostic scan tool can reveal the specific issue. The BCM stores Diagnostic Trouble Codes (DTCs) that pinpoint the problem. For example, as noted in official technical service documents from sources like the NHTSA, the general warning could correspond to a specific code like DTC 03280, which indicates an implausible signal from the light switch. This shows that the warning is the beginning of a diagnostic process, not the final word on the problem.
Common Culprits Behind the Lighting System Fault
An Audi Q5 lighting error can stem from a variety of sources, ranging from simple fixes to more complex electronic issues. Understanding the most common causes helps you approach the diagnosis logically, starting with the easiest and most likely culprits. Depending on the year and trim of your Q5, you might have halogen, xenon, or full LED lighting, which can influence the specific point of failure.
Here are the most frequent causes, ordered from most to least common:
- Burned-Out Bulb: This is the most common reason for the warning. Halogen and xenon bulbs have a limited lifespan, and when their filament breaks or the gas is depleted, it creates an open circuit that the BCM immediately detects.
- Faulty LED Module: On Q5s equipped with LED lights, the LEDs themselves are incredibly durable. It is far more common for the electronic driver module that powers them to fail. These modules regulate voltage and can fail from heat or moisture.
- Loose or Corroded Connectors: Constant engine vibration and exposure to the elements can cause electrical connectors behind the headlight or taillight assemblies to work loose. Moisture can also lead to corrosion on the pins, interrupting the electrical connection.
- Blown Fuse: Fuses are designed to protect your car’s electrical circuits from power surges. A blown fuse for a specific lighting circuit will disable that light and trigger the dashboard warning.
- Weak Battery Voltage: A dying battery can cause all sorts of strange electrical behavior. When system voltage is low, sensitive electronic modules like the BCM can act erratically, sometimes throwing false error messages.
- Faulty Light Control Module (BCM): While less common, the BCM itself can fail. An internal fault in this module can lead to persistent and often confusing lighting errors that do not resolve with other fixes.
- Damaged Wiring Harness: The wiring that runs to your lights can be damaged by road debris, get chewed by rodents, or suffer from abrasion over time. A short or break in the wiring will cause a fault.
- Coding Issues After Replacement: Modern Audis are complex. If a headlight or taillight assembly is replaced, the new component must be electronically “coded” to the vehicle. Skipping this step will almost always result in an Audi Q5 lighting error. Understanding these potential failure points is part of owning a sophisticated vehicle, which is a factor in why some high-mileage cars age better than others when properly maintained.
Your First Steps for a Quick Diagnosis
Before you reach for any tools, a few simple checks can often point you directly to the problem. This initial inspection is easy to perform and requires no special equipment, just a few minutes of your time and perhaps a helper to make things easier.
Follow this systematic checklist to narrow down the cause of the vehicle lights malfunction warning:
- Perform a Visual Walk-Around: This is the simplest step. Have a helper sit in the driver’s seat and operate the lights while you walk around the car. This makes it easy to spot a light that is out.
- Test Every Light Function Systematically: Do not just check the headlights. Go through a complete sequence to be thorough. Test the low beams, high beams, daytime running lights (DRLs), fog lights, front and rear turn signals, brake lights (including the high-mount third brake light), reverse lights, and license plate lights.
- Note the Timing of the Warning: Pay close attention to when the error message appears. Does it pop up the moment you start the car? Or does it only appear when you activate a specific function, like the right turn signal? This is a huge clue. An immediate warning often points to a standing fault like a burned-out bulb, while a function-specific warning isolates the problem to that particular circuit.
- Look for Physical Signs of Bulb Failure: For halogen bulbs, you can sometimes see a broken filament inside the glass. For xenon bulbs, a common sign of failure is a color shift to pink or purple, or flickering before they go out completely. With LED systems, an entire section or strip of lights will be dark.
- Check for Obvious Damage or Moisture: Inspect the headlight and taillight housings closely. Look for cracks in the plastic lens, which can let water in. Condensation or water pooling inside the assembly is a clear sign of a compromised seal and a likely cause of your Audi Q5 taillight problem or headlight issue.
A Detailed Guide to Inspecting Lighting Components

Once your initial walk-around has pointed you toward a specific area, the next step is a hands-on inspection. Depending on your Q5’s lighting system, the process will vary slightly. Properly maintaining these advanced systems is part of what makes owning one of the best used German cars that are actually worth owning a rewarding experience.
Inspecting Halogen Bulbs
For an Audi Q5 bulb replacement involving a halogen bulb, you will typically need to access the back of the headlight or taillight housing. This may require removing a plastic cover. Once inside, you can usually release a metal retaining clip or twist the bulb holder to remove the bulb. A visual inspection will often reveal a broken filament, confirming it needs replacement.
Inspecting Xenon (HID) Bulbs
A critical safety warning: Xenon systems use a ballast to create extremely high voltage to ignite the bulb. Always disconnect the car battery and wait several minutes before working on any xenon components. A great diagnostic trick is to swap components. If your left headlight is out, try swapping the xenon bulb from the working right side to the left. If the problem moves with the bulb, you need a new bulb. If the problem stays on the left side, the ballast is the likely culprit.
Inspecting LED Systems
It is important to set realistic expectations here. Individual LEDs are almost never replaceable; the entire assembly is serviced as one unit. Your inspection should focus on the main electrical connector going into the light assembly. Ensure it is securely plugged in and free of corrosion. Some LED systems have an external driver module that can be inspected or replaced separately.
Checking Fuses
Your Audi Q5 has fuse boxes in several locations, typically on the driver’s side of the dashboard and in the cargo area. Your owner’s manual will have a diagram showing which fuse corresponds to which lighting circuit. Use a fuse puller to remove the suspect fuse and hold it up to the light. A blown fuse will have a visible break in the small wire inside.
Inspecting Electrical Connectors
Unplug the main connector to the faulty light assembly and look closely at the pins. You are looking for the tell-tale signs of trouble: a greenish-white crust indicating corrosion, any pins that look bent or damaged, or pins that have pushed back into the connector housing. When reassembling, applying a small amount of dielectric grease to the connector can help prevent future moisture-related issues.
The Hidden Damage of Moisture in Light Assemblies
A little fog inside a headlight might seem like a minor cosmetic issue, but on a modern Audi, it is a serious problem. Moisture is the enemy of complex electronics, and both xenon and LED lighting systems rely on sensitive control modules that are often located inside or attached to the light housing. When water gets in, it does not just cause condensation; it can short-circuit the delicate circuit boards inside ballasts and LED drivers, leading to an expensive Audi Q5 headlight repair.
Water typically finds its way in through a few common points. The primary culprit is often a failed perimeter seal between the clear lens and the black housing. This butyl rubber seal can degrade over time. Other entry points include small cracks in the housing from minor impacts or degraded rubber caps on the back that are meant to seal the bulb access ports. Even a small breach can let in enough moisture during a car wash or rainstorm to cause a fault.
If you find moisture, you must dry the assembly out completely. You can carefully use a hairdryer on a low-heat setting from a safe distance to circulate air inside. Alternatively, removing the assembly and placing it in a warm, dry room for a day or two, perhaps with some silica gel packets inside, can draw out the moisture. Once dry, you must find and fix the leak. For a failed perimeter seal, you will need to carefully separate the lens, clean out all the old sealant, and apply a new, continuous bead of automotive-grade butyl sealant to create a durable, watertight repair.
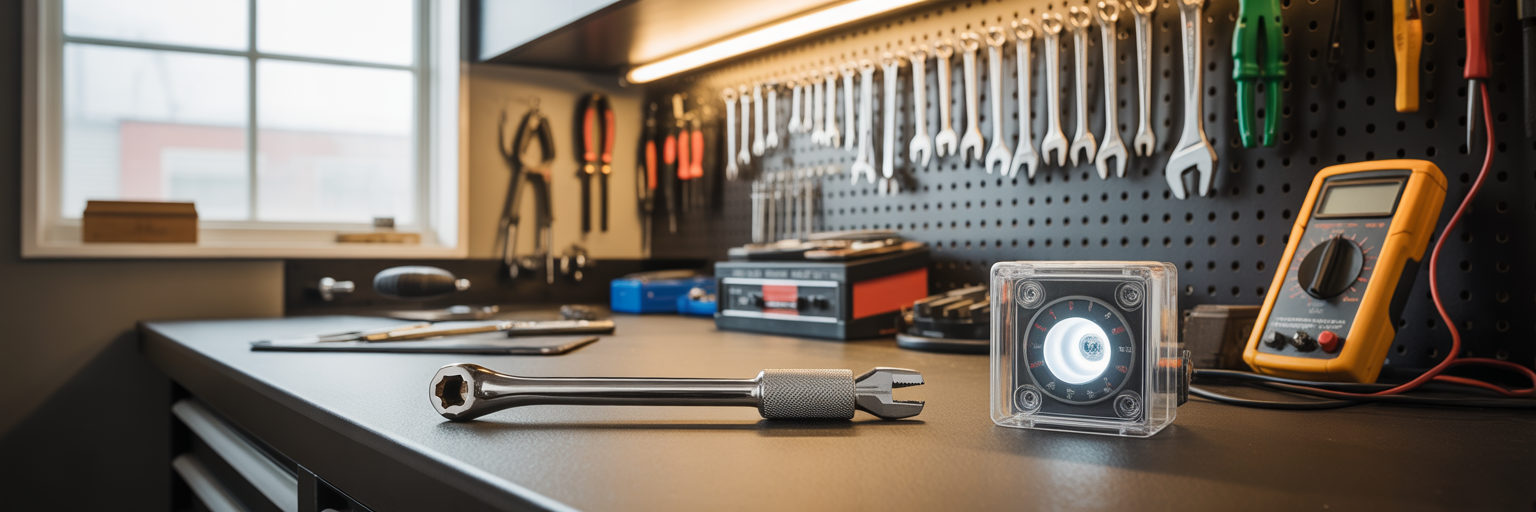
Using Diagnostic Scan Tools for Deeper Insights

If the basic checks do not reveal the problem, it is time to move beyond what the eyes can see. This is where a diagnostic scan tool becomes essential. However, the generic OBD-II code readers available at most auto parts stores will not be sufficient. These tools are designed to read engine and emissions codes, but they cannot communicate with the specialized body control modules that govern systems like lighting in an Audi.
To properly diagnose an Audi Q5 lighting error, you need an Audi-specific tool like VCDS (VAG-COM) by Ross-Tech or a device like OBDeleven. These tools speak the same language as your car’s computers and can pull the exact DTCs from the BCM. Instead of a vague “Vehicle Lights Malfunction” message, the scan tool might tell you “00978 – Lamp for Low Beam; Left (M29): Open or Short to Plus.” This single piece of information is incredibly valuable, as it pinpoints the exact circuit and the type of fault, saving you from hours of guesswork.
Imagine this scenario: your left turn signal is out. You replace the bulb, but it still does not work. You check the fuse, and it is fine. You are left wondering if it is a wiring problem or a faulty light assembly. A quick scan with VCDS, however, might reveal a fault code for the turn signal switch itself, a part you might not have even considered. These tools also offer an “output test” function, which allows you to command the BCM to activate a specific light. If the light turns on during the test, you know the bulb and wiring are good, and the problem lies with a switch or sensor.
Gauging Repair Difficulty and Knowing Your Limits
One of the most important skills for any DIY mechanic is knowing where to draw the line. An Audi Q5 headlight repair can range from a five-minute bulb swap to a complex electronic diagnosis. Being honest about your skill level, toolset, and patience can save you from turning a small problem into a much larger and more expensive one. Knowing which repairs are manageable is a key part of owning one of the best used luxury SUVs that won’t destroy you on repairs.
This table provides a clear guide to help you assess whether a specific lighting repair is within your capabilities.
| Difficulty Level | Example Tasks | Required Tools & Skills |
|---|---|---|
| Beginner DIY (1/5) | Checking fuses, Replacing accessible halogen bulbs (e.g., license plate), Cleaning battery terminals. | Basic hand tools (screwdriver, fuse puller), ability to follow owner’s manual. |
| Intermediate DIY (3/5) | Replacing a xenon bulb, Removing a taillight to dry it out, Replacing a bolt-on headlight assembly. | Socket set, Torx drivers, plastic trim removal tools, patience, attention to safety (high voltage). |
| Expert DIY / Professional (5/5) | Tracing a wiring short, Replacing a BCM/J519 module, Coding a new headlight assembly to the car. | Multimeter, wiring diagrams, VCDS/OBDeleven, deep understanding of CAN bus systems. |
Tasks in the beginner category are straightforward and carry little risk. Intermediate tasks require more disassembly and care, especially with the high-voltage warning for xenon bulbs. Expert-level repairs should not be attempted without the right diagnostic tools and a deep understanding of vehicle electronics. Attempting to replace and code a module without proper knowledge can potentially immobilize the vehicle or cause further damage to other electronic systems.
When to Trust a Professional With Your Audi
There are clear signals that indicate it is time to step back and hand the keys to a professional. If you are facing intermittent faults that you cannot reliably reproduce, or if multiple, seemingly unrelated electrical warnings are appearing at the same time, it is best to seek expert help. Another major red flag is the smell of burning plastic or any visible smoke from under the hood or dash, which indicates a serious short circuit that needs immediate attention.
Any repair that requires component coding should be handled by a qualified technician. Modern Audis feature a system called “Component Protection,” an anti-theft measure that electronically links modules like the BCM or new headlight assemblies to your specific vehicle. This requires online synchronization with Audi’s servers, a capability that only dealerships and some high-end independent shops possess. Attempting to bypass this can lead to a non-functional component.
If you suspect a control module failure or have a complex wiring issue, a professional is your best bet. They have access to factory wiring diagrams and the experience to trace faults efficiently. When choosing a professional, consider the difference between an independent European car specialist and an Audi dealership. An independent shop often provides better value for out-of-warranty repairs, while a dealership is the best choice for warranty work or the most complex electronic programming issues.
Frequently Asked Questions About Audi Q5 Lighting Errors
Here are quick answers to some of the most common questions owners have about the vehicle lights malfunction warning.
Q: Is it safe to drive with the ‘Vehicle Lights Malfunction’ warning on?
A: It depends entirely on which light has failed. If a primary safety light like a headlight, brake light, or turn signal is out, it is unsafe and illegal to drive. If the fault is with a less critical light, like a license plate bulb, you can drive but should get it fixed promptly to avoid a ticket.
Q: How much does it cost to fix this at a mechanic?
A: The cost can vary dramatically. A simple halogen Audi Q5 bulb replacement might cost between $100 and $200 at a shop. A xenon bulb replacement could be $300-$500. The most expensive repair is typically replacing a full LED headlight assembly, which, including the part and the necessary coding, can easily exceed $1,500.
Q: Will the warning light turn off by itself after I fix the problem?
A: For most simple faults, like replacing a burned-out bulb, the warning light will turn off on its own. The BCM performs a self-check every time you start the car, and once it confirms the circuit is working correctly, it will clear the warning. However, some more serious “hard faults” may need to be manually cleared with a diagnostic scan tool.
Q: The warning appeared right after I replaced the car battery. What happened?
A: This is a common occurrence. The voltage drop and subsequent surge during a battery change can sometimes confuse sensitive electronic modules, causing them to store false fault codes. In many cases, simply driving the car for a short period will allow the system to re-verify and clear the code on its own. If it persists, a technician can clear the stored code with a scan tool.